- The Quick Access limit of 20 files can be bypassed using the 'Recent' folder
- Creating shortcuts and adjusting jump lists offer more recent items visibility
- Clearing, troubleshooting, and managing recent file history keeps Windows organized
Struggling to see more than 20 recent files in Windows 11? You’re not alone – many users feel limited by Windows’ default settings, trying to get quicker access to all their recently used documents, photos, and folders, only to hit an unexpected wall. In this in-depth guide, you’ll discover why Windows 11 restricts you to a small list in Quick Access, what alternatives exist, practical workarounds, and detailed methods to expand, customize, or even relocate your recent files list for true power-user productivity.
If you’re someone who constantly juggles files throughout the day, a 20-item cap on your recent files just slows you down. Maybe you miss the old, more efficient “Recent” menu from previous editions of Windows, or perhaps you’re simply looking for a more organized way to keep your workflow snappy. Whatever your motivation, this article will guide you step by step through unlocking and managing your recent history in Windows 11 so you can save time and frustration.
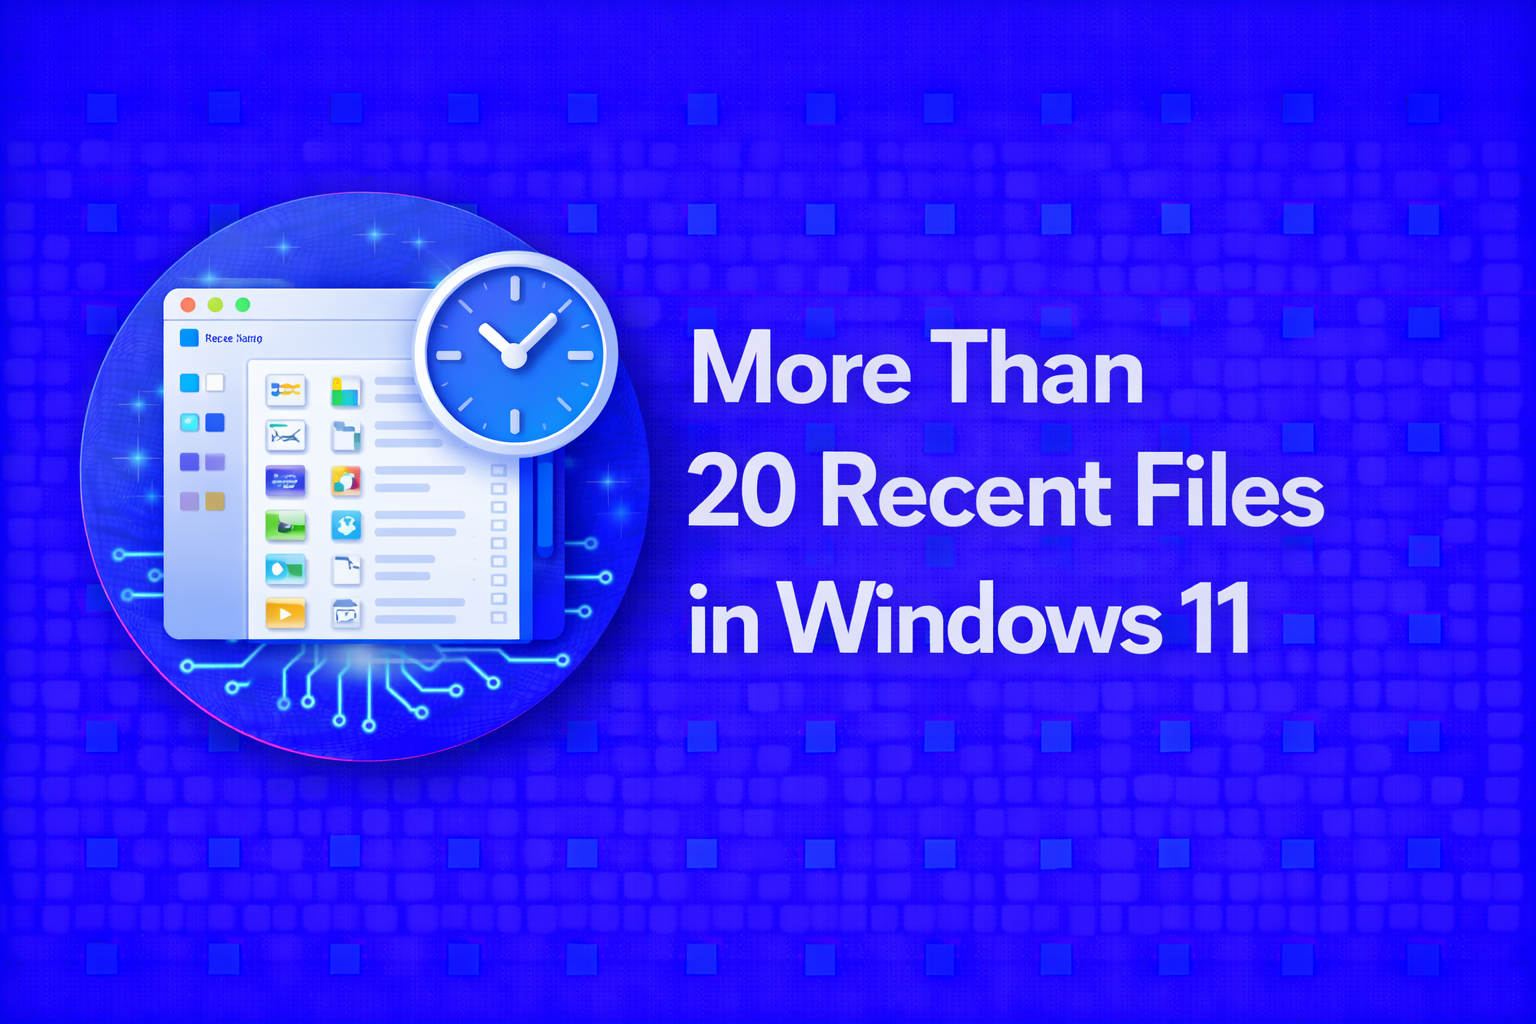
Understanding How Recent Files Work in Windows 11
Windows 11, like its predecessor Windows 10, maintains a record of your most recently accessed files and folders, making it easier to find documents you’ve worked on without sifting through countless directories. These recently used files appear in places like the Quick Access area in File Explorer and within each app’s jumplist on the taskbar.
However, Microsoft has made a deliberate choice to limit Quick Access to show only the 20 most recent items by default. This limitation is built into the operating system interface, unlike older versions of Windows that featured a more robust and customizable ‘Recent Documents’ section right on the Start Menu. The main reason for this limitation is to keep the interface uncluttered and focused. Yet, for users who frequently open dozens of files daily, this constraint quickly becomes a headache.
Ways to Access More Than 20 Recent Files in Windows 11
While the 20-file cap in Quick Access is a default setting, it doesn’t mean you’re entirely out of options. There is no built-in menu toggle or settings slider in Windows 11 that increases this Quick Access limit, but several alternatives let you view a much larger history of your recent activity.
1. Using the ‘Recent’ Folder (shell:recent Command)
The most powerful workaround is also a well-kept secret among Windows users: Windows still tracks a much larger set of recent files in a hidden system folder known as the ‘Recent’ folder. This folder logs shortcuts to most files you open, regardless of where they are stored on your drives.
To open the Recent folder:
- Press Windows + R to open the Run dialog.
- Type shell:recent and press Enter.
This will instantly open a File Explorer window showing all recent files and folders you’ve accessed – far surpassing the default 20-item limit!
The items here are user-specific, and the location for each user is typically %AppData%\Microsoft\Windows\Recent. System administrators in shared environments can browse other users’ recent folders through their respective user profiles.
2. Creating a Desktop Shortcut to Recent Items
If you find yourself needing fast and repeated access to this expanded list, you can create a dedicated shortcut on your desktop (or elsewhere):
- Right-click on your desktop and select New > Shortcut.
- When prompted for the location, enter %AppData%\Microsoft\Windows\Recent</strong>.
- Give it a name like “All Recent Files” and save it.
This shortcut can be dragged to your Start menu or taskbar for even speedier access, letting you bypass Quick Access entirely and see everything you need.
3. Adding Recent Items to Quick Access and the Start Menu
If you prefer everything neat in the Quick Access bar or Start Menu, simply drag your new Recent shortcut there. Right-click the shortcut on your desktop and select “Pin to Start” or drag it to the Quick Access pane in File Explorer. This gives you one-click reach to your entire recent history right alongside your regular folders.
4. Modifying Jump List Length for Specific Apps
While there’s no way to increase the Quick Access limit via standard Windows settings, you can adjust the number of recent items shown in jump lists for apps that support them (like Word, Excel, Notepad, etc.). The jump list is what you see when you right-click an app icon on your taskbar.
To change this, you need to edit the Windows registry:
- Press Windows + R, type regedit, and hit Enter.
- Navigate to HKEY_CURRENT_USER\SOFTWARE\Microsoft\Windows\CurrentVersion\Explorer\Advanced.
- Create a new DWORD value called JumpListItems_Maximum if it doesn’t exist.
- Double-click and set the value to your desired item count (e.g., 30, 40).
- Restart your computer or Windows Explorer for the change to take effect.
This method will increase the number of files shown for an individual program in its taskbar jumplist, giving you access to more history at a program-by-program level rather than in global Quick Access.
Customizing and Managing Recent File History
Keeping your recent files organized and private is crucial. Sometimes, you may want to clear your file history or customize the behavior of the Quick Access menu. Here’s how to take control:
a) How to Clear the Recent File List
- Open File Explorer and go to the menu (three dots or “View” button, depending on Windows version).
- Select Options, then stay on the General tab.
- Under the Privacy section, click the Clear button to wipe your recent file and folder history.
This can help protect your privacy, reset clutter, or resolve display glitches.
b) How to Ensure Recent Files Are Enabled in Quick Access
- In File Explorer, right-click Quick Access and choose Options.
- Under the Privacy section, make sure both “Show recently used files in Quick Access” and “Show frequently used folders in Quick Access” are checked.
If these options are unchecked, your recent files won’t appear even within the 20-item limit. Sometimes, a Windows update or privacy tool may disable these by default, so double-check if your list suddenly disappears.
c) Fixing Recent Files Not Displaying Properly
Sometimes, due to system issues, your recent files list may stop updating or appear blank. To resolve this:
- Clear your activity history: Go to Settings > Privacy & security > Activity history, then clear and re-enable recent file tracking.
- Rebuild the File Explorer cache: In File Explorer, go to View > Options, then Clear under Privacy, and restart File Explorer.
- Check for Windows Updates: Ensure your system is fully up to date; sometimes updates resolve history tracking bugs.
If the recent file list does not appear correctly or stops updating, it may be due to system issues, and it might be necessary to review configurations or deeper errors in the Windows profile or organizational policies.
Within the recent files section of File Explorer, Windows limits the ability to sort and customize the view. Unlike regular folders, the sorting columns (by date, name, type) are more restrictive. Some users wonder why it is not possible to sort or filter the entire list in this view.
For greater control, you can use the full shell:recent folder. When you open this directory in Explorer, you can sort the list by Date Modified, Type, or other criteria, similar to a standard explorer window, allowing for more precise management of your recent files.
Current limitations reflect design decisions by Microsoft to maintain simplicity and cleanliness in the interface, even if it implies some restrictions for advanced users. However, with alternative options and a few tweaks, you can access and manage your recent file history much more effectively.