
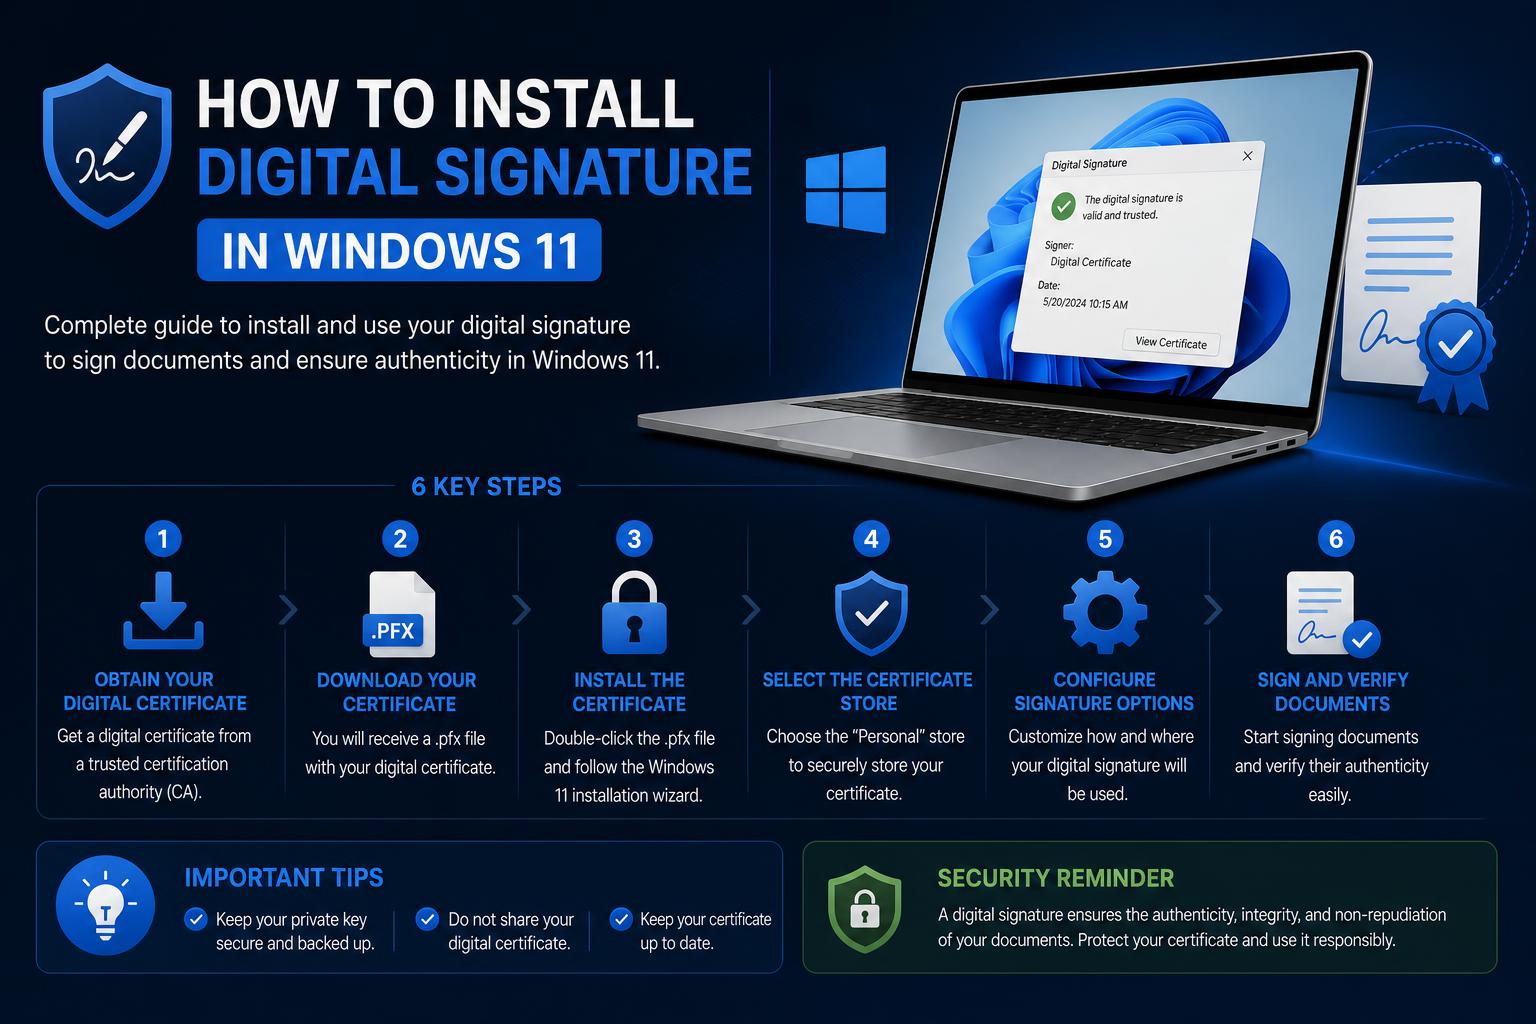
- Understanding digital signatures and the role of DSC tokens in Windows 11
- Correct driver, software, and certificate management are crucial for installation
- Troubleshooting and best security practices maximize DSC usability and protection
If you’ve ever needed to digitally sign a document or access a secure government or corporate portal in India, you’ve probably heard of Digital Signature Certificates (DSC) and USB crypto tokens. Installing a digital signature on Windows 11 might seem technical at first, but with the right steps and a bit of knowledge, it can be a straightforward process for most users.
Many users run into installation issues with their Digital Signature Certificate, whether due to missing drivers, browser compatibility, or operating system nuances. This article covers everything you need to know to reliably install and troubleshoot DSCs in Windows 11, plus some essential tips to keep your signatures secure and working for every portal that needs them.
What is a Digital Signature and Digital Signature Certificate (DSC)?
A Digital Signature Certificate (DSC) is much more than just an electronic signature – it’s a cryptographic credential that verifies your identity online if you need to sign documents digitally or authenticate yourself before government or enterprise services. In India, DSCs are governed under the Information Technology Act, 2000, and provide legal assurance about document authenticity, integrity, and non-repudiation. The certificate itself lives on a special USB crypto token. Think of this token as your personal digital ID – it securely stores your private key, which never leaves the device, while your public key (the actual certificate) is shared for identity validation.
DSCs are mandatory for e-filing on portals like MCA, GST, Income Tax, DGFT, GeM, ICEGATE, and more. They are usually issued by Certifying Authorities (CAs) such as eMudhra, Sify, Capricorn, VSign, and require thorough installation steps to work reliably in Windows 11 environments. For document signing in Office, you may use a simpler “self-signed” digital certificate created via Microsoft Office utilities, but this is only recommended for internal or personal use.
Before You Start: Requirements Checklist
- A Windows 10 or Windows 11 PC (preferably 64-bit for compatibility)
- An active USB crypto token (DSC) issued by a certifying authority
- The correct PIN (Password) for your token
- Official drivers and management software for your token (e.g., ProxKey Utility, ePass 2003 Token Manager, WatchData Tool, etc.)
- Stable internet access (required for some driver installations and portal setup steps)
- Administrative privileges on your computer (necessary to install drivers or modify certificates)
- Latest supported browser, ideally Google Chrome or Microsoft Edge (for government portals; some may require Firefox ESR or Java for legacy support)
- Java installed, if your portal or token software requires it (often Java 8 Update 181 or higher is recommended, but always confirm on portal instructions)
Understanding Certificate Authorities and Self-signed Certificates
Want to know where your digital signature comes from? Digital certificates are issued by trusted third-party Certificate Authorities (CAs), who verify your identity before issuance. Commercial and institutional authorities operate under strict guidelines to ensure certificates are trustworthy in both legal and technological aspects. Internal or “self-signed” certificates can be generated with tools like Windows’ SelfCert.exe but are generally recognized only within your local environment.
If you’re exchanging signed documents outside your organization or need to access any regulated portal, always use a CA-issued DSC with a secure USB token.
Step-by-Step Installation Guide for Digital Signature Certificate in Windows 11
Step 1: Insert and Prepare Your USB DSC Token
- Connect your USB token directly to a port on your computer. Avoid using USB hubs when possible, as they occasionally cause detection problems.
- Wait for Windows to detect the token; some tokens light up or show an icon in the system tray when powered.
Step 2: Install the USB Token Driver and Management Software
- Download the latest official driver and utility for your token model from the manufacturer or official CA website. Never use third-party download sites – they can have outdated or compromised software.
- Right-click the installer and choose “Run as administrator.” Follow the on-screen prompts. If prompted to allow certificate installation or changes, accept.
- Some tokens require a restart after installation; if so, reboot your PC before continuing.
- After restart (if needed), re-insert the token and confirm the management utility appears in your system tray.
Popular token drivers include: ProxKey, ePass 2003, HYP2003, WatchData, mToken CryptoID. Always match the utility with the token you physically possess.
Step 3: Verify Certificate Detection
- Open your DSC token management utility (for example, “ePass2003 Token Manager”).
- Enter your token PIN (issued by your provider when you received your DSC).
- Check that your certificate appears in the token utility:
- The “Issued To” name should exactly match your official (usually PAN) name.
- The validity period should be current and not expired.
- The certificate class must match portal requirements (typically Class 3 for Indian regulatory portals).
- You can also check your certificate through Windows’ Certificate Manager:
- Press Win + R to open the Run dialog.
- Type certmgr.msc and hit Enter.
- Navigate through Personal → Certificates; your DSC should be listed here if properly installed.
Step 4: Java and Specialized Browser Preparation (As Required)
Some portals and token tools (especially legacy ones) require Java to be installed and properly configured:
- Download the latest supported Java version from the official Java site.
- Install Java. Afterwards, open Control Panel → Java → Security to adjust security settings if your token or portal needs it.
- Restart your browser and, if prompted, allow any required Java permissions when accessing government portals.
Note: Some newer portals and tokens do not require Java; always verify portal requirements before proceeding.
Step 5: Configure Your Browser for DSC Use
- Use the latest version of Google Chrome or Microsoft Edge for portals like MCA, GST, GeM, and Income Tax.
- Certain older eProcurement and other legacy portals may require Mozilla Firefox ESR (Extended Support Release) or even Internet Explorer for best compatibility.
- Portal-specific requirements:
- Enable pop-ups for the portal domain (DSC signing typically triggers a pop-up authorization window).
- Add portal URLs to your browser’s Trusted Sites list (where required).
- Clear browser cache, cookies, and SSL state if you have repeated detection issues (Settings → Privacy & Security → Clear browsing data).
- Ensure any helper utilities (such as emSigner, emBridge, or WebSocket Signer) are installed and running before you attempt to sign on portals that require them. These utilities are usually downloadable from the respective government portal’s help or setup section.
Step 6: Test Your DSC Installation on a Government or Corporate Portal
- After installation, use the official test, login, or registration flows on the portal you intend to use:
- On the MCA portal: Navigate to ‘Associate DSC’ under ‘MCA Services’.
- For GST: Register/Update DSC in your profile.
- For the Income Tax portal: Go to ‘Register DSC’ in Profile settings, usually requiring emSigner or a similar utility.
- For DGFT: Use DSC login on the dashboard.
- For GeM and ICEGATE: Test with their respective DSC-based login or signing workflows.
Manual Certificate Import (Advanced Troubleshooting)
If Windows 11 does not recognize your certificate, or you receive trust errors, you may need to import your DSC manually using the Windows Certificate Import Wizard:
- Open Certificate Manager (Win + R, then type certmgr.msc).
- Right-click Personal > Certificates, then choose All Tasks > Import.
- Follow the wizard to import your certificate from the token or from a .cer or .pfx file (if separately provided).
- If prompted due to an expired or incomplete trust chain, try exporting a valid certificate from another working computer and import it as outlined above.
For more details and solutions regarding certificate errors, check the official documentation at Microsoft Support.
Common Installation Problems and Solutions
- USB token not detected? Missing, outdated, or incompatible drivers are usually the cause. Uninstall and reinstall the official manufacturer drivers, try a different USB port, and restart your computer.
- Certificate not visible in browser? It may not be registered in the Windows certificate store. Use your token management utility to re-import or re-register it.
- Unable to access DSC on portal? Verify that background helper utilities like emSigner are running and not blocked by firewalls. Ensure these required tools are explicitly allowed through Windows Firewall settings.
- Expired certificate? Request a renewal from your Certifying Authority and update the new certificate across relevant portals, as renewal issues a distinct cryptographic key pair.
- PIN not accepted? After three incorrect attempts, most tokens lock automatically. Use the management utility to reset your PIN using the PUK code or administrator credentials.
- Error: ‘DSC already registered against another user’? This indicates your certificate is associated with a different user profile on the portal. De-register it or contact portal support for re-assignment.
Security Best Practices for Using Digital Signature Certificates
- Treat your USB DSC token like a physical passport or bank card. Do not share the physical device and never disclose your PIN.
- Install drivers and utilities exclusively from official sources.
- Physically disconnect your token when not actively signing or authenticating to prevent unauthorized remote access.
- Never insert or use your DSC token on public or shared computers.
- Renew your DSC well before its expiration date to avoid service disruptions.
Frequently Asked Questions
- Can I use the same DSC on multiple computers? Yes. The DSC is stored on the USB token. Simply install the necessary drivers on any secondary computer, insert the token, and your certificate will be accessible.
- What should I do if my USB token is not detected in Windows 11? This is typically caused by missing or incompatible drivers. Uninstall outdated drivers, reboot your PC, and install the latest official release from the token manufacturer’s website. You can also read our guide on Windows driver setup and troubleshooting for general driver remedies.
- Do I need a separate token for each DSC? Yes. Per regulatory standards, each Class 3 DSC must reside on an individual FIPS-compliant cryptographic device; storing multiple DSCs on a single token is prohibited.
- Which browser works best with DSC? Modern releases of Google Chrome and Microsoft Edge offer full compatibility for most government portals. Legacy portals may still require Mozilla Firefox ESR or older Java environments.
- How do I update token drivers? Uninstall old drivers via Windows ‘Installed Apps’ / ‘Programs and Features’, download the latest version from the official manufacturer site, install it, and restart your PC before re-inserting the token.
- My certificate disappeared from the browser, how do I restore it? Open your token management software and select the option to re-register or import the certificate into the Windows Certificate Store.
- How can I verify if my DSC installation was successful? Open Windows Certificate Manager (certmgr.msc), check under Personal > Certificates to verify your name and expiration date, and perform a test signature or login on your target government portal.
Complete Windows 11 Printer Setup Guide: Installation, Drivers and Troubleshooting