
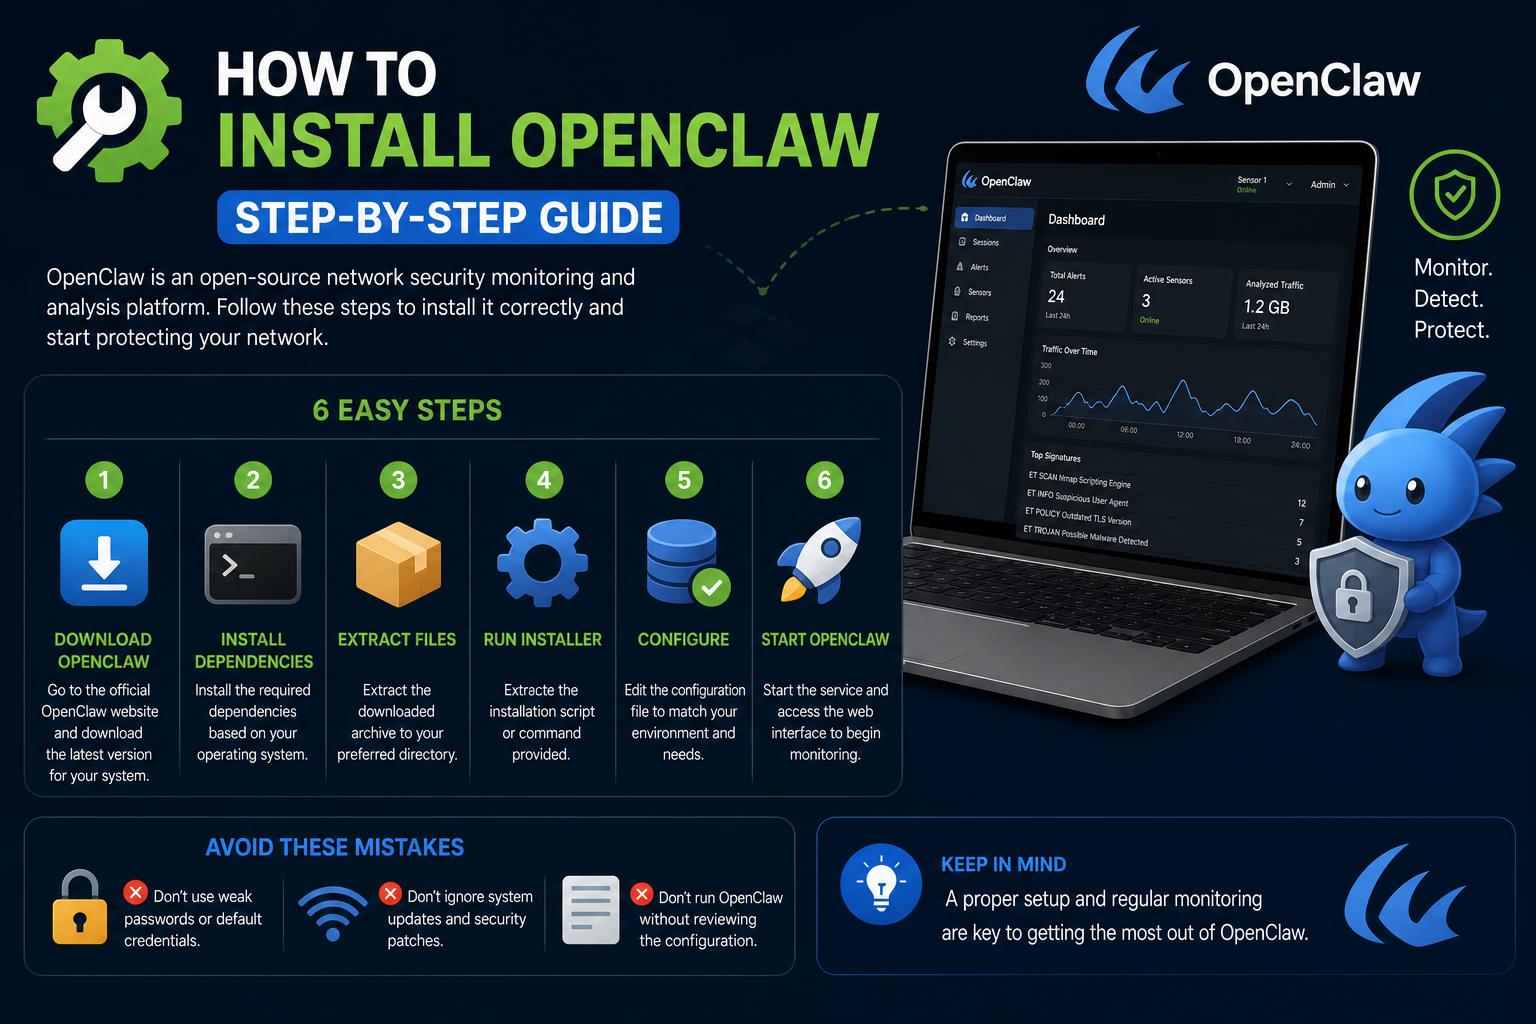
- OpenClaw installation supports multiple operating systems and methods for diverse user needs.
- The installer automatically takes care of dependencies like Node.js, simplifying the setup.
- Multiple troubleshooting and verification options are available to assist users during installation.
If you’re eyeing OpenClaw as your next AI agent or coding assistant, you might be worried that setting it up is going to feel like rocket science. So, let’s cut to the chase—installing OpenClaw can be surprisingly smooth, even if you’re not a tech wizard. Whether you use Windows, macOS, or Linux, there’s an install method made just for you, and with the right guidance, you can have OpenClaw up and chatting in five minutes or less.
Here’s everything you need to know to get OpenClaw installed — from recommended prerequisites and desktop app options, to common pitfalls, automation tips, and advanced configuration. This comprehensive walkthrough is based on the latest official OpenClaw documentation, real user experiences, and valuable Reddit insights. Expect a step-by-step approach, practical advice, and a few reassuring notes for first-timers along the way. Let’s get your assistant running locally in no time!
What Is OpenClaw?
OpenClaw is an open-source AI assistant that runs locally, giving users control, privacy, and flexibility. Built with versatility in mind, it integrates with model providers like OpenAI, Anthropic, Google, and more, and it can be used for tasks ranging from chatting and coding to advanced automations. All the details can be found at the official OpenClaw documentation, but here we’ll walk through every step you’ll need.
System Requirements
Before diving in, make sure your system ticks the boxes below. OpenClaw is compatible with major operating systems and handles most dependency installs automatically.
- Node.js 22.22.3+, 24.15+, or 25.9+ (Node 26 is recommended — often installed for you via the installer script).
- Operating system: Windows, macOS, or Linux. (Windows users get extra love with a native app, CLI installer, or WSL2 Gateway.)
- pnpm (only if you plan to build OpenClaw from source).
- An API key from your chosen model provider (like OpenAI or Anthropic). Onboarding will prompt you when needed.
Checking Node is simple: Run node --version in your terminal. If you don’t have it, don’t worry—the installer script can provision it!
Choosing Your Installation Path
OpenClaw makes installation as straightforward as possible, offering both graphical and command-line pathways and built-in dependency checks. Here are your main options.
1. Download the Desktop App
If you’d rather install a traditional desktop application, OpenClaw has companion apps for major platforms:
- Windows: Download the Windows Hub app — it’s a signed installer, so you just need to run it as you would with any other Windows program. You’ll get a handy tray icon, chat capabilities, and node management in one place. For extra details and troubleshooting, check the Install documentation.
- macOS: Grab the menu bar app as a
.dmg(preferred), or a.zipfile from the OpenClaw GitHub releases. Once downloaded, open and install OpenClaw.app. The setup process is intuitive, and there’s a detailed walkthrough on the macOS app page.
Both desktop apps will help you set up a local or remote Gateway straight from the first launch.
2. Recommended: The Installer Script
For the fastest, most universal install, use the automated script from the command line. This is suitable for macOS, Linux, and Windows PowerShell users, and automatically detects your OS, installs Node.js (if missing), and gets OpenClaw running in minutes. No need for any prior manual prep.
If you don’t want onboarding to start automatically after installation (perhaps for scripting or automated environments), there are advanced flags and options—see Installer internals for details.
Step-by-Step: Installing OpenClaw in Minutes
Worried that things will get too technical? Let’s clarify the process with user-friendly steps, drawn from Reddit advice and real installation cases. If you can copy and paste, you can set up OpenClaw!
1. Visit the OpenClaw GitHub page to find the very latest install commands. The page summarizes the quick-setup instructions for your OS.
2. Copy and paste the command into your terminal (macOS/Linux) or into PowerShell (on Windows).
That’s basically it! The script will walk you through setup with minimal choices required. When prompted, simply respond to the onboarding options as needed.
What to Expect During Setup
- Onboarding questions: The installer guides you step-by-step, asking about API keys, model providers, permissions, and optimal settings.
- Model selection: Choosing a model like Minimax 2.1 will automatically get you a temporary free plan, no API keys required and zero complex configuration.
- Gateway setup: OpenClaw will install and start its gateway service on your computer (usually in 1-2 minutes).
- Access confirmation: Approve system prompts like “Allow” and “Open Web UI” when asked, then your browser should pop open a chat window for OpenClaw.
When you see the chat box, just type “hey”. If you get an instant reply, congratulations—OpenClaw is up and running! You can even try “are you online?” for another sanity check.
Alternative Installation Methods
Prefer to keep things local, work with package managers, or run OpenClaw inside a container? Here’s a summary of installation routes to fit every preference:
Local Prefix Installer (install-cli.sh)
This method keeps OpenClaw and Node neatly separated from your main system, living instead under a custom directory like ~/.openclaw. Great for advanced users or isolated environments. Works seamlessly with npm or Git-based source checkouts. Already installed OpenClaw? You can switch between package and Git installs with simple update commands.
Advanced Package Managers (npm, pnpm, bun)
If you already manage Node yourself and want full control, install OpenClaw directly from npm, pnpm, or bun. This option is particularly suited for developers familiar with JavaScript package management.
From Source
Planning to contribute or tweak OpenClaw under the hood? Clone the repository, set up the environment as outlined in the official Getting Started guide, and launch from your local copy with pnpm commands.
Containers and System-Wide Package Management
For those looking to deploy OpenClaw in server or enterprise contexts, installation via containers, Nix, Docker, or system package managers is supported. Follow the specific steps provided in the docs for your preferred method and operating environment.
Verification and First Chat
Let’s double-check that everything’s working as it should!
- Gateway status: After install, your Gateway should be listening on port 18789 by default.
- Dashboard: The setup normally opens the Control UI in your browser automatically. If not, open it manually by navigating to the localhost port (e.g.,
http://localhost:18789). - First message: Type anything (“hello”, “test”, etc.) in the chat window and confirm you get an AI reply.
- Want to use your phone? You can integrate Telegram with just a bot token—found in the channels section of the docs.
Troubleshooting: Common Issues and Fixes
If something goes sideways, don’t panic! OpenClaw ships with self-check tools and the most frequent hiccup is usually a PATH problem—meaning your shell can’t find the openclaw command after install. Here’s what you can do:
- Check if it’s a PATH issue: Often, npm’s global binaries aren’t on your
PATH. The installation docs have quick guides to fix this for all major systems (including Windows). - Run
openclaw doctor: This built-in tool runs health checks, summarizes any configuration gaps, and gives you either an immediate fix or a prompt you can pass to a coding agent like Claude Code or Codex CLI for deeper analysis. - Windows-specific issues: If on Windows, OpenClaw tries to install a scheduled task for startup; if permissions are limited, it falls back to a startup folder login item.
- macOS/Linux daemons: On macOS, install the LaunchAgent with
openclaw onboard --install-daemon; on Linux or WSL2, a systemd user service is installed the same way.
Still stuck? OpenClaw’s troubleshooting docs and community Reddit thread share solutions for trickier issues. Most problems are resolved by following the doctor tool’s advice or copying its output for expert review. Nothing leaves your machine unless you choose so—your data’s safe.
Automation, CI, and Bulk Installs
Need to run OpenClaw installations in automated workflows or for multiple users? Simply pass the appropriate non-interactive flags or environment variables as documented in Installer internals. Scripted installs can skip onboarding or explicit prompts for hands-off deployment.
If you want everything handled under a local user profile (such as ~/.openclaw), the install-cli.sh script is designed precisely for this scenario, perfect for CI/CD or managed multi-user systems. The PowerShell script for Windows (install.ps1) similarly accepts installer options by name and validates everything before making changes, making it ideal for predictable, automated installations.
Next Steps: Configure and Explore
Once OpenClaw is running, it’s time to make it your own.
- Pairing & Security: Decide who can access your agent—fine-tune control via the dashboard UI.
- Model and Tool Configuration: Select and adjust models, enable plugins, or configure sandboxes for web, exec, search, and more.
- Environment variables: Advanced users can use
OPENCLAW_HOME,OPENCLAW_STATE_DIR, andOPENCLAW_CONFIG_PATHto customize paths for state, config, and internal files. The official docs cover the details.
Hosting & Cloud Deployment
If you want to run OpenClaw 24/7 or make it available across devices, consider deploying it to the cloud. You can use a VPS or dedicated server on platforms like DigitalOcean, Hetzner, Azure, GCP, and more. Instructions for each provider are found in the Linux server picker within the documentation, or check experimental container templates for providers like Render and Cloudflare.
Remember, running OpenClaw locally means your device needs to stay online to keep the service available. No provider offers free around-the-clock hosting without limitations—if you need always-on access, a paid server is the way to go.
Updates, Migration, and Uninstallation
Need to update, back up, or migrate your installation? The installer manages most upgrades seamlessly. Changing between package-based and Git-based installs is as simple as running openclaw update --channel dev or openclaw update --channel stable, and migrating settings or uninstalling is covered in detail on the installer documentation page.
If you’re migrating or managing multiple installs, consider automating with CI flags or environment variables detailed in the Installer internals docs.
With straightforward steps, comprehensive troubleshooting tools, and flexible deployment options, you’re well-equipped to maximize OpenClaw’s potential. Whether starting with a simple desktop app or diving into advanced custom configurations, it’s designed to adapt to your needs. For any questions or support, consult the latest info within the OpenClaw documentation and Reddit community.