
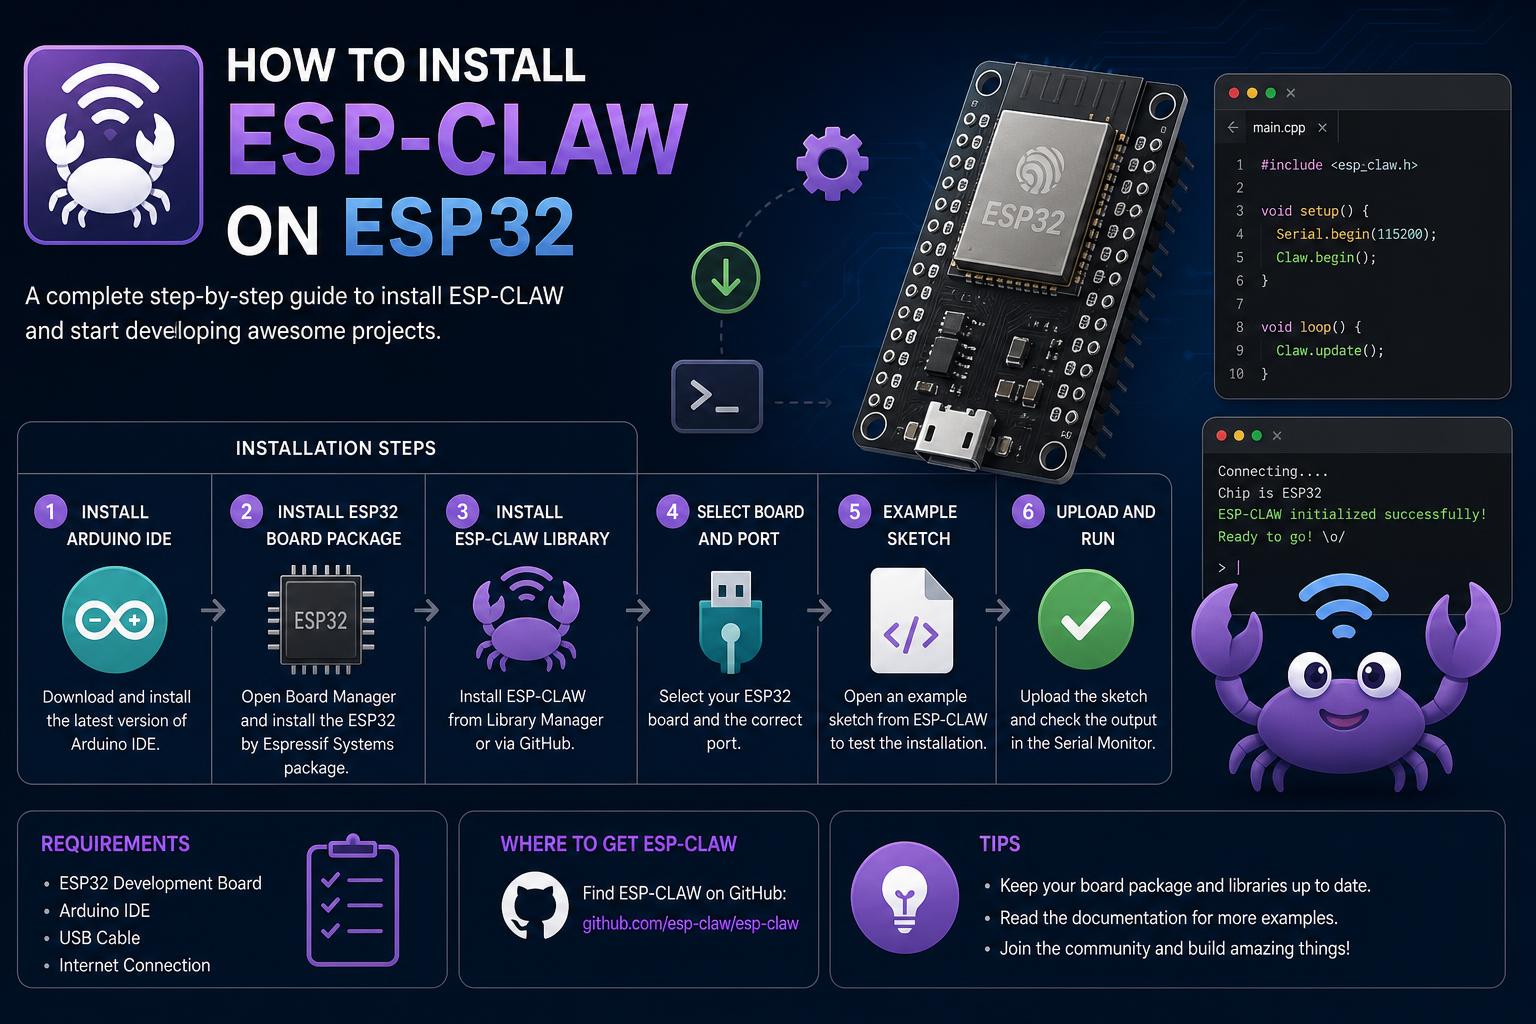
- ESP-Claw transforms ESP32 boards into AI-enabled, self-programming microcontrollers.
- Direct web-based firmware flashing and configuration require minimal tools or experience.
- Seamless integration with sensors, displays, IM platforms, and search engines unlocks real-world automation.
If you’ve ever wished your microcontroller could write its own code, update its firmware, and respond to your everyday instructions — all without constant tinkering — the ESP-Claw framework for ESP32 devices is a game-changer you need to check out. As embedded AI becomes more accessible, ESP-Claw stands out for its unique approach to ‘chat coding’, enabling developers, hobbyists, and even complete beginners to get smart hardware up and running in entirely new ways. Here’s an end-to-end guide to not just installing ESP-Claw on your ESP32, but also understanding what it brings to the table, how to configure it, and which bells and whistles you can add on for an outstanding project.
In this comprehensive article, you’ll discover everything you need to know to install ESP-Claw on an ESP32 board. Whether you’re planning to use the ESP32-S3, UNIHIKER K10, or a similar dev board, or you’re just curious about edge AI agents, you’ll find practical steps, in-depth configuration tips, and realistic testing scenarios. We’ll cover hardware essentials, how to set up the software (even flashing directly from your browser!), and all the intricacies of connecting displays, servos, sensors, IM platforms, and even search engines for live data lookup. So, if you want your ESP32 to evolve from a passive executor into an AI-powered, self-programming microcontroller, read on.
What is ESP-Claw?
ESP-Claw is an open-source, AI-enabled agent framework from Espressif that extends the intelligence of the ESP32 family. The goal is simple but revolutionary: devices should not merely execute commands; they should be able to think, decide, and act locally on the chip — eliminating reliance on cloud for every decision.
Unlike traditional IoT devices, ESP-Claw equips your ESP32 with the ability to process instructions in natural language, self-generate code, flash new firmware on the fly, optimize battery usage, update sensor triggers, and even chat directly through supported IM apps. It’s inspired in part by the OpenClaw concept but re-engineered in C for minimum resource usage and maximum speed — you get robust AI with just a couple of megabytes of RAM and flash.
Key Hardware Requirements
To deploy ESP-Claw, your ESP32-based hardware needs a few baseline specs:
- ESP32 dev board (S3, P4, C5 variants, UNIHIKER K10, or similar)
- At least 8MB PSRAM and 8MB Flash memory for reliable firmware flashing and operation
- Microcontroller with UART0 or compatible USB interface for easy firmware download and debugging
- Optional peripherals: Display (such as LCD/OLED), USB Camera, WS2812 RGB LED strips, servo motors, sensors (e.g., humidity, light, acceleration), and sound modules
Boards like the UNIHIKER K10 are particularly well-suited with an onboard screen, camera, multiple sensors, speaker, and microphones, making them ideal for deeper interaction with ESP-Claw’s capabilities.
Getting Set Up: Physical Assembly and Connections
Let’s start by assembling your ESP32 board and hooking up optional peripherals:
- ESP32 on Breadboard: Position the main ESP32 dev board (e.g., ESP32-S3-DevKitC-1) at the center of your breadboard. Leave an empty pin column on both sides for clean wiring later.
- Display Connection (optional): Connect your selected display, ensuring its power input connects to the ESP32’s 3.3V pin. Follow your display’s wiring diagram for pinouts.
- USB Camera (optional): On ESP32-S3, GPIO20 and GPIO19 serve as USB D+ and D- lines. Power the camera from the 5V pin. Some camera modules, such as from Espressif, offer connectors for external speakers and microphones too.
- WS2812 RGB Strip/Ring (optional): Attach power (5V) and ground, and link the data input pin (commonly called DATA IN) to GPIO14 on the ESP32-S3.
- Servo Motor (optional): Power the servo with 5V from the board, then connect its PWM control wire to GPIO47.
For initial setup and testing, you only need the ESP32 board and a USB data cable. Add peripherals as you expand your project.
Flashing ESP-Claw Firmware
Start by flashing the official ESP-Claw firmware to your ESP32:
- Go to the official ESP-Claw website (ESP-Claw Documentation).
- Select your board type (e.g., ESP32-S3, UNIHIKER K10) from the web interface.
- Click ‘Flash Online’. This opens a web-based tool for direct flashing, without requiring you to compile firmware locally or install any additional software.
- Configure firmware version — stick with the default Edge Agent version unless you know you need something specific.
- Select your device (MCU type/board model) and choose the UART/USB port if prompted.
- Plug your ESP32 into your computer with a USB cable. Hold any required ‘BOOT’ button (some boards like the UNIHIKER K10 require this for flashing), then click ‘Connect’.
- Once recognized, click ‘Download Firmware’. The process downloads and flashes the ESP-Claw firmware automatically. Monitor the progress and wait until you get a completion status.
After the flash, some boards require a manual reset (pressing a RESET or RST button). Your ESP32 now boots straight into the ESP-Claw agent environment!
Initial Configuration: Wi-Fi and Console
After flashing, the ESP-Claw software runs a first-boot configuration sequence:
- Wi-Fi Setup: Enter the SSID and password for your 2.4GHz Wi-Fi network. Most ESP32 variants support only 2.4GHz — make sure your computer is on the same network if you’ll use the Web UI.
- Console URL: Once Wi-Fi is configured, ESP-Claw provides a local web interface — copy the link and open it in your browser. This gives you a chat-based control console for the board.
- Console Output: Set UART0 for debugging and real-time outputs, helpful for tracking firmware status and troubleshooting any peripheral issues.
If Wi-Fi setup fails or isn’t completed, some boards (e.g., UNIHIKER K10) display a temporary Access Point (AP) mode — connect to the board’s hotspot, then finish configuring Wi-Fi, AI services, and messaging platforms through the captive portal in your browser.
Configuring the LLM and API Access
ESP-Claw puts modern AI models directly at your board’s fingertips, but you need to configure your choice of LLM provider:
- On the console, open the LLM Settings menu.
- Choose the provider — supported APIs include OpenAI (GPT models), Anthropic (Claude), Alibaba’s Qwen, DeepSeek, and custom endpoints.
- Paste your provider’s API key and select the desired operating mode (chat, assistant, code-generation, etc.).
- Save settings. With API authentication entered, your ESP-Claw agent is ready to process natural language and programming tasks.
Without an API key, LLM-based features (like chat coding or contextual code generation) are inaccessible, so don’t skip this step.
IM (Instant Messaging) and Multimodal Interaction
ESP-Claw can bridge your devices with major instant messaging platforms for seamless control from anywhere:
- Supported platforms include Telegram, QQ (OpenClaw), Feishu, and WeChat ClawBot.
- Configure chat bots or integration keys for each of the services you want to use. You can enable multiple IM channels simultaneously.
- This setup allows you to send commands, trigger automations, or even ask your ESP32 questions via chat, all handled by the onboard ESP-Claw AI agent.
For step-by-step chat scenarios and examples, consult the .
Enabling Advanced Features: Search Engine and Sensors
If your project needs live internet data (like weather, search results) or highly interactive behavior, expand configuration:
- Search Engine Integration: ESP-Claw works well with APIs like Tavily for real-time queries. Create an account with Tavily, copy your API key, and enter it under the search provider settings.
- Once enabled, your board can fetch news, weather, or answer questions directly from the web — just like a smart assistant.
- Connect and configure sensors through the chat interface or the web console. Supported modules include humidity, light, temperature, acceleration, and more. Specify the GPIO pin and the task you want the AI agent to handle.
Combining onboard sensing with live web queries allows for highly responsive IoT dashboards, automation, and personalized notifications.
Testing Your ESP-Claw Board: Real Scenarios
With firmware and logic all set, it’s time to see ESP-Claw in action:
- Blink an LED: Open the console UI and describe the simple task — for example, “blink an LED connected to GPIO 4.” ESP-Claw parses your request, generates the code, handles compilation and flashing, then runs it. Watch the LED blink as specified — no hand-coding, just clear instructions!
- Connect and Read from Sensors: Attach a sensor (e.g., humidity/temperature) to a known GPIO. Instruct ESP-Claw to collect readings and send them to your chosen IM platform or display on an IoT dashboard.
- Test IM Integration: Message your board from a connected platform (Telegram, WeChat, etc.) and command it to capture a photo, read data, or report its status.
- Experiment with AI queries: With LLM and search provider APIs configured, ask questions like “What’s the weather in Berlin this week?” ESP-Claw pulls live data and replies directly from the edge.
The best part? As you expand peripherals, you can evolve from simple demos to complex, multi-modal AI applications — introducing user recognition, automated responses, energy management, and adaptive behaviors with no need for updates.
Troubleshooting and Tips
- If Wi-Fi doesn’t connect on first boot (especially on boards like the UNIHIKER K10), check the screen for a temporary AP mode and finish setup over the generated hotspot.
- Always verify you are using a genuine USB data cable (not just a charging wire) for flashing and console connection.
- Make sure your chosen LLM/provider supports the region and model you need; not all APIs are interchangeable.
- Firmware or settings not sticking? Many issues are resolved with a factory reset or by reflashing firmware from the browser tool.
Beyond the Basics: How ESP-Claw is Changing IoT Agents
Traditional embedded systems have always required developers to handcraft each interaction and behavior, with endless code-debug-update cycles. ESP-Claw flips this paradigm on its head by letting your microcontroller become a local intelligence agent, handling everything from firmware upgrades to AI tasks through natural language requests.
Whether you’re wiring up hobbyist projects, prototyping smart devices, or diving into advanced automation, ESP-Claw facilitates fewer headaches and more possibilities. Its support for structured memory keeps your private data off the cloud, enabling fast local responses. The architecture’s extensibility ensures your project can grow with your evolving needs, integrating sensors and IM platforms seamlessly. This approach offers a significant advantage over traditional frameworks, promoting more versatile and responsive IoT development.
The ESP-Claw framework represents a leap forward for edge AI and IoT development. By bridging hands-on electronics with AI-powered automation, it opens new doors for creativity, convenience, and learning. With direct firmware flashing, chat coding, and seamless integration of smart peripherals and messaging platforms, anyone can turn an inexpensive ESP32 into a self-updating, responsive, and highly intelligent device. Dive in, experiment, and discover how effortlessly you can get started — whether for home automation, smart assistants, or educational projects.
Inclined Planes and Wedges: Mastering the Mechanics of Simple Machines