
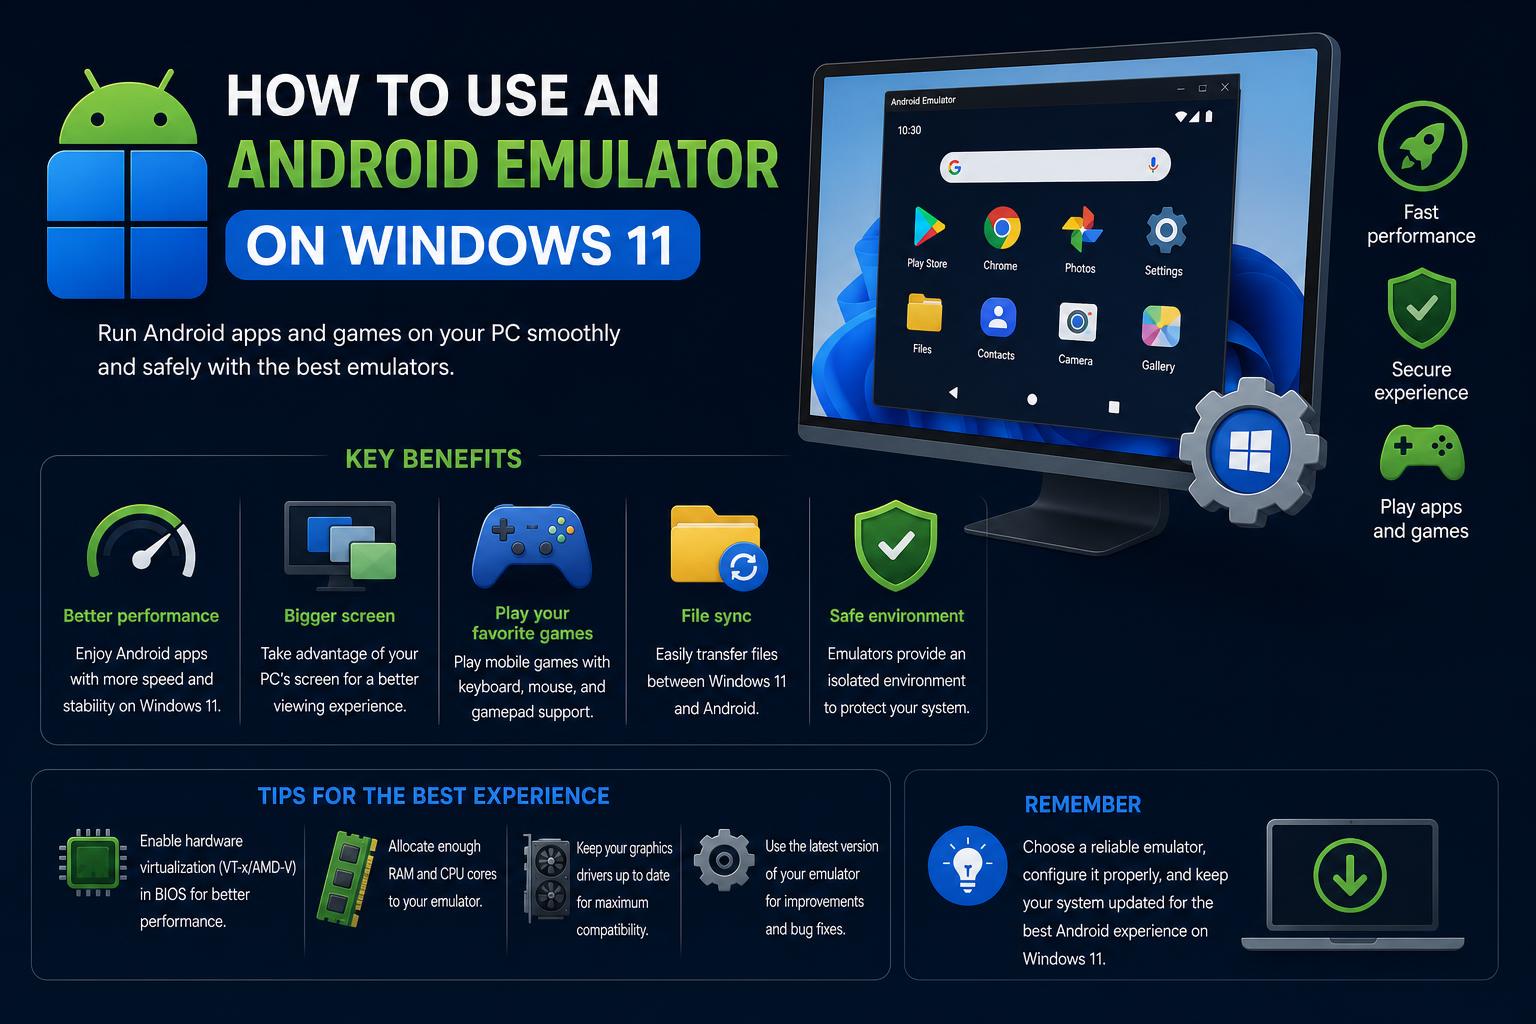
- Explore top Android emulators like BlueStacks and Genymotion for Windows 11 with expert-backed insights.
- Understand the requirements, advanced features, and diverse device simulations available.
- Get clear, actionable guidance on emulator set-up, optimization, and troubleshooting.
If you’re looking to run Android apps or games on your Windows 11 PC, you’re in for a treat—modern Android emulators offer exceptional performance, a broad feature set, and surprising flexibility. With the explosion of options and updates, knowing which emulator to choose can be a real headache. This in-depth guide covers everything you need to know about Android emulators for Windows 11, offering you a bird’s-eye view of solutions like BlueStacks, Genymotion, and the official Android Emulator from Android Studio, alongside practical setup and usage tips.
We’ve sifted through the leading resources and official documentation to bring you the most detailed breakdown possible. Whether you’re a gamer, a mobile developer, or simply curious about bringing Android’s power to your desktop, you’ll find actionable information, step-by-step explanations, and key recommendations to get you started fast and keep you up to date.
Why Use an Android Emulator on Windows 11?
Running Android emulators opens up a world of flexibility. For gamers, it means playing mobile titles with a mouse and keyboard, leveraging high-end PC hardware, and accessing features like macros and screen-record, which phones often lack. For developers, it enables broad device testing across hardware profiles, screen sizes, and Android versions, all without the need to physically own dozens of devices. Even casual users can benefit, trying out Android apps without switching between devices.
Top Android Emulators for Windows 11
Let’s break down the key players currently dominating the emulator scene on Windows 11. We’ll focus on those with the best support, features, and compatibility, referencing both community insights and official guides to provide well-rounded recommendations.
BlueStacks
BlueStacks is by far one of the most recognized Android emulators for PC and Mac, with an emphasis on gaming. Its user-friendly interface, wide-ranging compatibility, and performance optimization make it a crowd favorite. If you’re into mobile gaming or just want a straightforward way to launch Android apps on your desktop, BlueStacks delivers with multi-instance support, customizable controls, and seamless integration with the Play Store.
- Game guides and optimization tips are readily available, even for the latest survival and strategy games. The official BlueStacks website regularly updates its resources, ensuring that users can get help on everything from game optimization to emulator updates.
- Performance is a major strong point, especially if your PC meets or exceeds modern system requirements.
- Out-of-the-box features such as key mapping, multi-instance, and cloud connection make BlueStacks appealing to more than just gamers.
Genymotion
If your focus is more on development, testing, and enterprise automation, Genymotion stands out for its cloud-based platform and robust device simulation capabilities. Unlike traditional emulators that only run locally, Genymotion gives users access to a scalable, cloud-driven infrastructure for running and automating tests across hundreds of Android device images. This has revolutionized development cycles for many companies, allowing them to test and deploy with speed and confidence.
- Developers enjoy rapid SDK testing and the ability to automate scale with just a button click.
- The range of supported devices covers phones, tablets, Android TV, Wear OS, and even automotive profiles.
- Genymotion’s premium features are especially valuable for businesses and advanced testers, while basic emulation is accessible to all users.
Android Emulator from Android Studio
The official Android Emulator, tightly integrated with Android Studio, is a favorite among professional developers for its versatility and fidelity. This emulator doesn’t just mimic one or two devices—it handles a vast array of Android phones, tablets, TVs, wearables, and even automotive configurations, all from your PC.
Some standout highlights include:
- Simulation of a huge range of hardware features and sensors, such as GPS, network speeds, device rotation, touch gestures, incoming calls, and text messages.
- Testing across multiple API levels, all from pre-configured virtual machines known as Android Virtual Devices (AVDs).
- Extensive documentation, troubleshooting support, and an ever-growing list of keyboard shortcuts and emulator controls—ideal for power users and advanced testers.
While the learning curve is higher than for plug-and-play emulators, the flexibility and authenticity it delivers are unparalleled for anyone needing the latest Android APIs or specialized device testing scenarios.
Other Emulators and App Store Listings
The Microsoft Store offers free downloads of basic Android emulator launchers, like the Android Emulator Launcher. While these are very accessible, don’t expect them to match the depth or customization offered by BlueStacks, Genymotion, or the Android Studio Emulator. These versions are often good for casual use, but may lack advanced features, performance tuning, or up-to-date compatibility for new apps and games.
Core Features to Look For in an Android Emulator
Picking the right emulator shouldn’t be about brand recognition alone. Look for the following core capabilities:
- Device Simulation: The ability to mimic recent smartphones, tablets, wearables, or even non-standard devices like foldables and Android TV units.
- API Level Support: Whether you need Android 8.0, 13, or anything in between, broad support ensures you can test and use the apps you care about most.
- Performance Optimization: GPU acceleration, memory management, and multi-instance support can dramatically affect usability and speed—especially for games.
- Developer Tools: A good emulator supports debugging, snapshots, custom device profiles, and integration with IDEs like Android Studio.
- Additional Features: From screencasting and key mapping to integration with the Play Store or advanced network simulation, bonus features can make or break your experience.
System Requirements: Can Your PC Handle It?
Emulators demand decent hardware to run smoothly. For the best experience, your PC should ideally have at least 16 GB of RAM, 64-bit Windows 10 or newer, and at least 16 GB of free disk space. More powerful specs are recommended for heavy-duty usage, such as running multiple virtual devices at once or simulating the latest API levels with large displays.
If your PC doesn’t meet these requirements, running emulators may still be possible at a lower performance, but expect occasional slowdowns or limitations. A strong hardware foundation ensures a frustration-free experience—especially if you’re developing or gaming intensively.
The initial steps for getting started typically include downloading your emulator of choice, checking your system specs, and following the guided installer. For the official Android Emulator, you’ll use Android Studio to create an Android Virtual Device (AVD), specify your device profile and system image, then launch the emulator directly from the IDE.
Most mainstream emulators, like BlueStacks, also offer straightforward installers and guided on-boarding to help you get started fast, guiding you through downloading, logging in to your Google account, and installing your favorite apps in minutes.
Modern emulators closely mimic touch gestures and navigation buttons found on real Android devices. Expect support for:
- Swipe, tap, double tap, and drag actions using your mouse or touchpad.
- Typing and shortcuts with your PC keyboard. The official Android Emulator even recognizes advanced multi-touch gestures and provides a large set of keyboard shortcuts for navigation, taking screenshots, rotating the device, adjusting volume, and more.
- Switching between apps, opening app drawers, accessing recent apps, and emulating device orientation, thanks to an intuitive control panel or sidebar.
You can often customize controls to fit your workflow, from adjusting the aspect ratio to linking common actions (like screenshots or rotating the device) directly to keyboard hotkeys. For developers, advanced options include simulating hardware events and sensors, and customizing device folding for testing foldable screens.
Advanced Features: Beyond Basic Emulation
Some emulators go far beyond basic app launching—explore these cutting-edge features if you’re serious about Android on Windows 11.
- Automated Testing and Dev Tools: Genymotion empowers automation at scale, integrating with CI/CD pipelines for enterprise-level SDK testing.
- Wear OS and Foldable Devices: Both Genymotion and the Android Studio Emulator offer rich support for these newer device profiles, including pairing assistants for wearable testing and virtual folding/unfolding for next-gen phones.
- Snapshots and Quick Boot: Save emulator states for instant boot-up and fast context switching between testing scenarios.
- Rich Cloud Environments: Cloud-hosted emulator options unlock huge scalability, letting you spin up dozens of test devices for parallel QA cycles.
Potential Issues and Troubleshooting Tips
No emulator is perfect, and hiccups can happen, especially if your hardware or drivers aren’t up to the task. The official documentation for the Android Emulator features a thorough troubleshooting section, covering:
- Startup and crash issues (often sorted with driver updates or increased RAM allocation).
- Performance lag (look into GPU acceleration, background process management, and optimizing system resources).
- App compatibility (sometimes tied to not using the correct system image or API level).
If you’re using BlueStacks or Genymotion, their websites offer searchable help centers and user forums where common problems are resolved quickly by both staff and the user community. This support means you’ll rarely get stuck for long, no matter your use case or PC setup.
Who Should Use Which Emulator?
Here’s how to decide between the top contenders:
- Want to play Android games with the best possible frame rates and access bonus gaming features? Go with .
- Professional developer or QA expert? The from Android Studio gives you the authenticity, device coverage, and API support you’ll need.
- Working in the cloud or looking for scalable, automated device testing? is your best bet for enterprise-driven projects and advanced cloud integrations.
- If you need nothing more than a quick, lightweight Android experience for a single app, you can try a simple launcher from the Microsoft Store, but the experience will be basic.
How to Play Tomodachi Life on PC: The Ultimate Safety & Setup Guide