
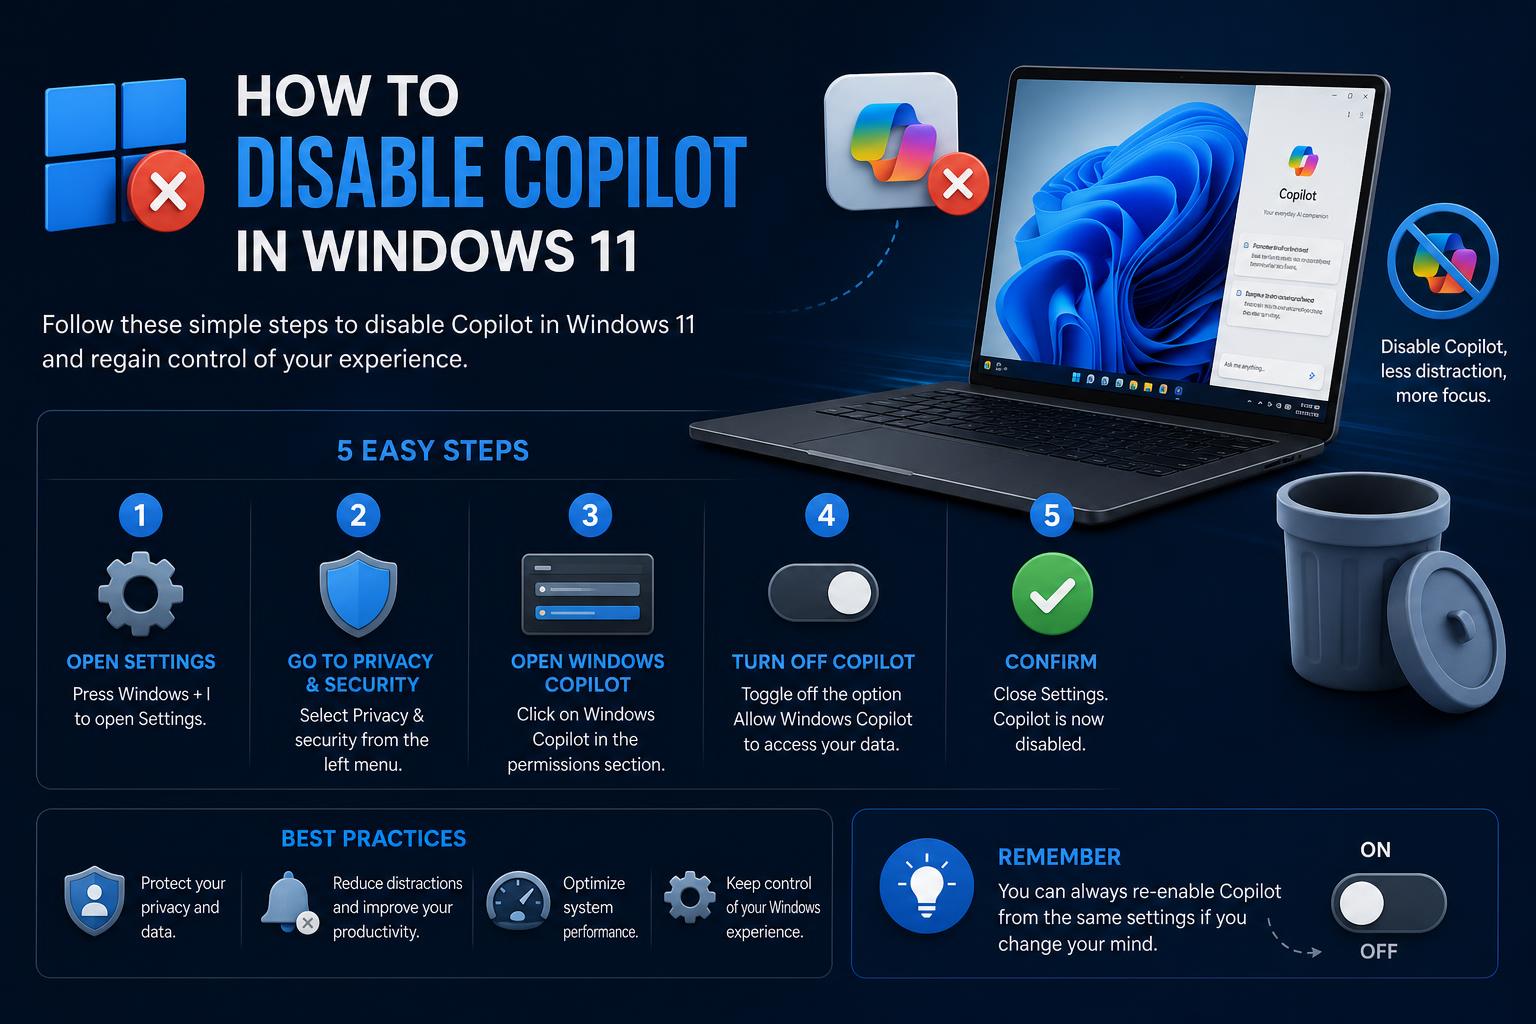
- Disabling Microsoft Copilot in Windows 11 requires multiple approaches depending on your Windows edition and specific needs.
- Utilizing Group Policy Editor and Registry modifications are the most direct ways to turn off Copilot for most users.
- Additional steps, including managing privacy settings and blocking automatic reinstalls, ensure Copilot remains off after system updates.
Microsoft Copilot has been showing up all over Windows 11, becoming quite persistent for users who just want a cleaner, less AI-driven experience. Whether you’re feeling distracted by its presence or are simply not ready to embrace artificial intelligence across your daily workflow, this guide is here to help you take back control.
Many users have been frustrated to discover that hiding the Copilot icon on the taskbar doesn’t actually get rid of the feature itself. Disabling Copilot across Windows 11 can feel like a game of whack-a-mole—so, let’s get systematic. Below you’ll find all the up-to-date methods for disabling Copilot: covering standard, advanced, and privacy-centric approaches, as well as some troubleshooting steps in case Microsoft tries to sneak it back in after an update.
What Is Microsoft Copilot, and Why Is It Appearing Everywhere?
Microsoft Copilot is an artificial intelligence assistant built into Windows 11 and various Microsoft 365 applications. It’s designed to help users by generating answers, assisting with writing and productivity, and offering creative support. Microsoft is pushing it aggressively, so you’ll find it not just in the OS, but also in apps like Word, Excel, PowerPoint, OneNote, and even Outlook. Copilot is also cross-platform, popping up in browsers like Edge, on mobile devices, and across enterprise environments.
But not everyone needs or wants this integrated AI. Whether you’re concerned about privacy, unneeded distractions, or simply don’t want AI baked into every corner of your PC, you’re not alone. The biggest complaint? The standard ‘hide icon’ approach only removes the shortcut but leaves Copilot active in the background.
Simple Ways to Remove Copilot from the Taskbar
If your only annoyance is the icon itself, you can quickly unpin Copilot from your taskbar:
- Right-click the Taskbar and find the ‘Copilot’ toggle (it may read as ‘Show Copilot (preview)’).
- Turn it off to remove the icon.
This does not truly disable the Copilot feature; it just hides the visible entry point, leaving Copilot services running and accessible through other interfaces. If you want a deeper solution, keep reading.
How to Fully Disable Copilot Using Group Policy Editor
If you really want Copilot gone, Group Policy Editor is the most robust route—however, it is officially available only on Windows 11 Pro, Enterprise, and Education editions. Home edition users: don’t worry, there are creative workarounds covered below!
- Press Win + R, type gpedit.msc, and press Enter.
- Navigate to User Configuration > Administrative Templates > Windows Components > Windows Copilot.
- Find the policy setting called Turn off Windows Copilot and double-click it.
- Set it to ‘Enabled’ (yes, enabling this policy disables Copilot—welcome to Microsoft logic!).
- Apply and click OK. Restart your PC for the changes to take effect.
Important tip: If you are using Windows 11 Home, Group Policy Editor is not included by default, but there are safe ways to install it using community-supported tools like MajorGeeks’ installer. Many users have successfully used this script—just make sure to download from trusted sources. Once installed, the instructions above will work for you too.
For especially stubborn cases: If your Group Policy changes don’t stick, you can use Policy Plus, an alternative Group Policy editor for Windows.
- Open Policy Plus, reapply the Copilot restriction, save the policies, and then restart once more.
Advanced Method: Disabling Copilot via the Windows Registry
If you cannot access Group Policy Editor or prefer not to install additional tools, the Windows Registry provides another path. This method works across all editions, but proceed with caution—incorrect Registry edits can cause system instability.
- Press Win + R, type regedit, and press Enter.
- Navigate to HKEY_LOCAL_MACHINE\SOFTWARE\Policies\Microsoft\Windows\WindowsCopilot
- If WindowsCopilot does not exist, right-click Windows, select New > Key, and name it WindowsCopilot.
- Inside WindowsCopilot, right-click in the right pane, select New > DWORD (32-bit) Value, and name it TurnOffWindowsCopilot.
- Double-click it and set its value to 1 (this disables Copilot).
- Close the Registry Editor and restart your computer.
This direct method prevents Copilot from running after a reboot, provided Microsoft does not overwrite your settings in future updates.
Blocking Copilot from Returning After Updates
One of the main user complaints is that Windows updates sometimes reset Copilot settings or re-enable features you carefully turned off. To block automatic reinstalls, follow these steps:
- Block Windows Updates from reinstalling Copilot drivers or applications. You can do this with a registry script:
reg add "HKLM\SOFTWARE\Policies\Microsoft\Windows\WindowsUpdate" /v "ExcludeWUDriversInQualityUpdate" /t REG_DWORD /d 1 /f - On Pro/Enterprise editions, use AppLocker to completely block Copilot:
New-AppLockerPolicy -RuleType Publisher -User Everyone -PublisherName "Microsoft.Windows.Copilot" -Deny -Action Deny
These actions help ensure that future updates will not re-enable Copilot or install related drivers.
Disabling Copilot Features in Microsoft 365 Applications
Copilot is not limited to Windows itself. It is also present in Microsoft 365 apps like Word, Excel, PowerPoint, OneNote, and Outlook. Here is how to disable it in those environments:
For Word, Excel, PowerPoint, and OneNote (recent versions)
- Open the desired application, go to File > Options > Copilot (if you see the Copilot section).
- Uncheck the “Enable Copilot” box.
- Click OK, close, and restart the application.
Note: If you don’t see this checkbox, your app version may not easily support this toggle. Updates following March 2025 (official Microsoft documentation) should include it.
Older versions or missing toggle
- Go to File > Account > Account Privacy > Manage Settings.
- Look for Connected Experiences and uncheck “Turn on experiences that analyze your content.”
- Click OK and restart the app—this turns off Copilot alongside other smart features.
Caution: Disabling connected experiences may also turn off other cloud-based features, such as suggested replies in Outlook, text predictions in Word, PowerPoint Designer, and automatic alt-text. Consider which features you rely on before disabling everything.
How to Turn Off Copilot in Outlook
Outlook works a bit differently. It features a dedicated “Enable Copilot” toggle. Here is where to find it:
- In Outlook for Windows (new version): Settings > Copilot
- On Mac, Android, iOS, or Web: Quick Settings or Settings > Copilot
Toggling this setting on one device generally syncs across all devices logged into the same account. However, classic Outlook for Windows (starting mid-2025) lacks this quick toggle.
If All Else Fails: Scripting and Power Tools
In some cases, standard options may not appear or work due to account restrictions, Windows edition limits, or update configurations. In these scenarios, power users and system administrators can:
- Use a PowerShell script to disable connected experiences at the registry level:
$regPath = 'HKCU:\Software\Microsoft\Office\16.0\Common\Privacy'; if (-not (Test-Path $regPath)) { New-Item -Path $regPath -Force }; Set-ItemProperty -Path $regPath -Name 'UserContentEnabled' -Value 0 -Type DWord -Force; Set-ItemProperty -Path $regPath -Name 'ConnectedExperiencesEnabled' -Value 0 -Type DWord -Force; Write-Output 'Connected experiences disabled.' - Purge AI caches by deleting temporary files left behind by Copilot or its Office integrations using:
Remove-Item -Path "$env:LOCALAPPDATA\Microsoft\Office\16.0\WEF" -Recurse -Force -ErrorAction SilentlyContinue
Hiding Copilot from the Office Ribbon without Disabling the Core Feature
If you simply want Copilot out of sight without disabling the underlying functionality, you can customize the Office ribbon.
- In Word (or other Office applications), go to File > Options > Customize Ribbon.
- Locate and uncheck any entries labeled Copilot or similar.
- Alternatively, right-click the ribbon, select ‘Customize the Ribbon’, and remove the Copilot icon.
This removes the visible iconography while keeping any background Copilot features available.
Special Considerations: Windows 10 Support and Alternatives
While this article focuses on Windows 11, similar issues (and solutions) apply to recent versions of Windows 10 as Copilot reaches both ecosystems. Most disabling steps, such as using Policy Plus or registry modifications, work on Windows 10 as well. Be sure to verify your specific OS build and feature rollouts.
What to Do If You Use a Managed PC or Copilot+ PC
Enterprise users or devices equipped with Copilot+ hardware (such as Snapdragon X Elite/Plus or AI-accelerated chips) may face extra restrictions.
- Settings and toggles may be greyed out or hidden due to administrator controls or organizational policies.
- Features may be protected or enforced using management tools like AppLocker, Intune, or Active Directory.
- On personal devices, most steps above will still work. If you are on a corporate network, you may need to contact your IT administrator.
Tips and Troubleshooting
- If Copilot remains visible after disabling it, verify that Group Policies were applied correctly or that your registry changes persisted after rebooting.
- If a major Windows update re-enables Copilot, reapply your registry edits or group policies, as system upgrades often reset custom policy values.
- Stay updated by checking official Microsoft support articles and tech community forums, as Microsoft frequently modifies registry paths and feature flags.
- If specific Copilot options disappear inside your apps, check your Office version and whether your build is part of an Insider or Beta channel—some features roll out gradually based on account type.
Ultimately, keeping Windows 11 free of Copilot requires consistent oversight after major updates. By applying these methods, you can maintain a streamlined, distraction-free desktop environment tailored to your privacy and workflow preferences.
Vibe Coding: How AI Is Reimagining Software Creation for Everyone