
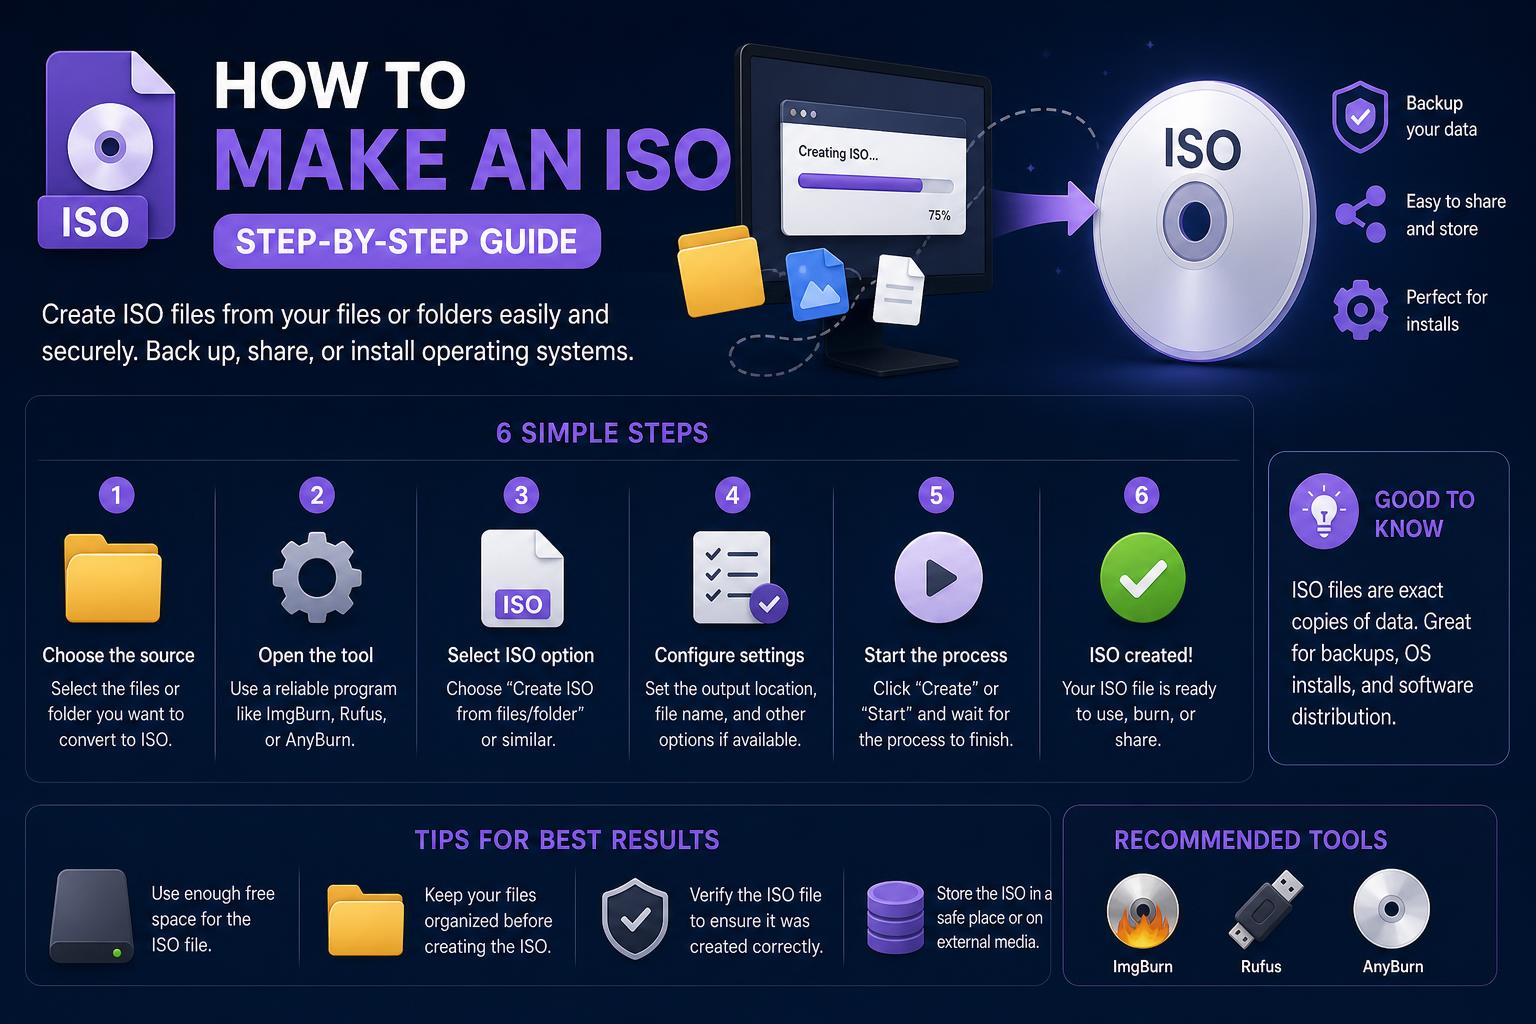
- ISO files provide a way to archive and share exact digital copies of discs or folders, useful across different platforms.
- Windows users can easily make ISOs with tools like ImgBurn and AnyBurn; Mac and Linux also include robust built-in options.
- Third-party apps are safe if downloaded from official sources, but be wary of bundled software and unwanted programs.
Have you ever needed to save a copy of your favorite CD, DVD, or Blu-ray, or perhaps share a collection of files conveniently in a single, universally compatible format? That’s where ISO files come into play. These digital archives represent an exact image of a physical disc or a custom group of files, making them ideal for backups, distribution, and even running virtual drives without any actual hardware involved.
With computers moving away from traditional optical drives, knowing how to create an ISO file is a valuable skill. Whether you’re preserving old disc content, streamlining software installations, or just seeking better organization, this article will walk you through every major method and tool. No matter if you’re on Windows, Mac, or Linux, or if you just have folders to archive, you’ll find every answer right here.
Understanding ISO Files: What Are They and Why Create Them?
An ISO file, sometimes referred to as an ISO image, is a single archive that captures the entire contents and structure of a CD, DVD, or Blu-ray disc. They can also be used to bundle collections of files and folders, replicating the feel of a physical disc—which is why they’re often called ‘images’ of discs. Once an ISO is created, it can be stored, transferred, or even ‘mounted’—meaning your computer will treat it as if you’d inserted the actual disc.
This function is invaluable for installing old software, archiving games, backing up drivers, or moving system disks between computers. Creating ISO files also helps avoid wear and tear on your original discs and can drastically speed up access compared to physical media. Given the gradual disappearance of disc drives, ISOs are quickly becoming the standard way to preserve, share, and access disc-based data.
Creating an ISO File on Windows
Windows doesn’t include a built-in tool for creating ISO files from discs or folders, but using third-party utilities has become the go-to method for this process. Fortunately, several mature and reliable free tools are available, with ImgBurn and AnyBurn standing out as both robust and user-friendly. Let’s tackle both use cases: making an ISO from a disc, and from any collection of files/folders.
How to Create an ISO from a Disc with ImgBurn
- Download and install ImgBurn from the official website. Make sure you get it from the source to avoid bundled unwanted software.
- Insert your disc (CD, DVD, or Blu-ray) into your optical drive.
- Open ImgBurn. From the main menu, select “Create image file from disc.”
- Choose the source drive—usually your physical disc drive (be careful if virtual drives appear).
- Set the destination for your ISO file. You can specify where the file will be saved and its name.
- Select the ISO format in the “Save as type” dropdown.
- Click the “Read” button. ImgBurn will copy the contents of your disc into a new ISO file, showing a progress bar as it works. When finished, the ISO will be ready in your chosen location, announced by a cheerful notification sound.
Pro Tip: ImgBurn continues to work smoothly on recent versions of Windows, including Windows 11—even on ARM-based systems.
How to Create an ISO from Files or Folders with AnyBurn
- Download AnyBurn from the official site and install it.
- Run AnyBurn and click “Create image file from files/folders.”
- This opens a new compilation. Here you can:
- Click “Add” to select files or folders to include in your ISO. You can drag-and-drop, or use copy and paste as well.
- Use “Remove” to take out anything you’ve accidentally added.
- “New Folder” creates extra directories within your ISO for organizing files.
- “Rename” lets you change file or folder names inside the compilation.
- “Label” is for setting the ISO label (the ‘disc name’). You usually don’t need to mess with “Advanced” options unless you know your settings.
- Click “Next” when your compilation is ready.
- Choose a filename and destination for your ISO. AnyBurn defaults to ISO format but allows you to switch to BIN/CUE if required.
- Click “Create Now” to begin. You’ll see a progress bar, and once it’s finished, close the dialog. Your ISO is ready to use or share!
Good to know: Once you have your ISO, you can send it over the Internet, keep it for backups, or burn it back to a physical disc if needed—AnyBurn handles both the creation and writing of ISOs.
Creating an ISO on a Mac (macOS)
Apple includes everything you need to make ISOs, but the approach uses Disk Utility and Terminal. The core process is to create a disc image in CDR format, then convert that to ISO. Although macOS can use CDR files natively, you often want ISO for broader compatibility.
- Insert the disc you want to copy.
- Open Disk Utility (find it easily with Spotlight, or in Applications > Utilities).
- Find your disc in the sidebar under the optical drive—pick the actual disc volume name, not just the hardware drive.
- In the menu, go to File > New Image > New Image from [Volume Name].
- Select a location, set the format to “CD/DVD master”, and leave encryption set to none. Save your image.
- If prompted, approve any security dialogs with your password or Touch ID and let the image be created.
- When done, you will receive a .cdr (CDR) image. To convert this to ISO:
- Open Terminal and navigate to your image’s folder (e.g.,
cd ~/Downloads/ISO/). - Run the following command:
hdiutil makehybrid -iso -joliet -o filename.iso filename.cdr, replacing filenames as appropriate. This command makes a hybrid ISO in the Joliet format, perfect for broad compatibility.
- Open Terminal and navigate to your image’s folder (e.g.,
- You now have both a CDR and an ISO available for use, mounting, or sharing.
Extra tip: CDR images work just like ISOs on Mac, but ISO guarantees the file will work cross-platform or with virtual machine software.
Making an ISO Image on Linux
Linux, especially popular distros like Ubuntu, includes powerful tools for working with disc images—right out of the box. The preferred technique uses terminal commands, granting excellent control and flexibility.
- Insert your disc and ensure it’s not mounted (meaning your system isn’t reading it as a live drive right now). Check with
mountin Terminal to see where your device appears. Often it’s/dev/sr0. - If it is mounted, you have to unmount it first:
sudo umount /dev/sr0(or whatever your device path is). - Now, create your ISO using the
ddcommand:sudo dd if=/dev/sr0 of=/path/to/yourfile.iso.
- if= is your input device (the disc)
- of= is where your ISO will be saved
- Wait for the process, which can take several minutes with larger discs. Once done, your ISO image is ready at the target location.
Important: Always double-check your device names—mistakes could overwrite the wrong data!
Special Cases: System, Hard Drive, and Advanced ISO Creation
Sometimes, you’re not just backing up a CD—maybe you want an image of your whole hard drive or your Windows system for deployment. While making a disk or system image is similar to making an ISO, there are important distinctions:
- An ISO is generally used for discs or organized files—it contains a file system structure that mimics optical media.
- Full disk images made for system backups (such as with Clonezilla, Macrium Reflect, or Windows Backup) use different formats like IMG, VHD, or their custom extensions. These can still be restored or mounted, but they aren’t typically “ISOs.”
- If you need to create an ISO out of a whole hard drive (rather than just a data disc), you’ll need specialized tools and processes. Most backup tools do not output to ISO for this—so research your needs carefully.
Forum discussions, like those on Reddit, frequently mention this distinction. While many users want to build an ISO of their active drive for easy restoration, traditional ISOs are not suitable for system state or disk-level backups—consider dedicated imaging software in those cases.
Other Reliable ISO Creation Tools
We’ve already covered ImgBurn and AnyBurn, but there are additional options:
- WinCDEmu: Particularly handy for mounting ISO images, it also lets you create ISO images directly from your physical discs. Simply insert your disc, right-click the drive in “Computer”, and choose “Create ISO image”. Choose the output file, and WinCDEmu will handle the process, as outlined in their official tutorial.
- Other tools like PowerISO and ISO Image Creator provide similar features, especially for those who prefer graphical user interfaces.
Always remember: Pick vendors and download sources carefully to avoid unwanted bundled software. Stick to well-known projects’ official pages or reputable freeware lists.
Tips for Working with ISO Files
- Mounting an ISO on Windows 10/11 is as easy as double-clicking the file; Windows will create a virtual drive letter. Mac and most Linux distros have similar one-click or command-line options.
- Burning an ISO back to a disc lets you restore the physical media if you ever need it—most creation tools also offer simple burning features.
- Storing and Organizing ISOs is important. Label them clearly and back them up, since they replicate entire discs—and can be large files.
- Checking ISO Integrity (using checksums or built-in verify tools) ensures that your backup is complete and uncorrupted. Many creation tools offer a “verify” function.
Addressing Safety and Third-Party Tools
When downloading free ISO creation tools, always consider potential risks. Only download from official project homes or reputable sites. Be wary of sites with aggressive advertising (sometimes flagged as “Potentially Unwanted Programs” sources). For example, ImgBurn, as widely recommended, remains free, reliable, and trustworthy when sourced from their official website.
If you see unexpected offers for unrelated software or browser extensions during installation, opt out—they’re not needed for core ISO creation. When in doubt, research any tool beforehand, or check software forums for firsthand user experiences.
When You Need an Optical Drive (and When You Don’t)
The toughest part might be the hardware. Modern laptops and desktops rarely include optical drives anymore. If you don’t have one, there are simple workarounds:
- External USB drives are cheap and widely compatible.
- Older computers at libraries or schools may have built-in drives and let you run free software like ImgBurn or WinCDEmu.
- For ISO creation from folders, you don’t need any actual optical device—just use software methods outlined above.
Preserving your cherished disc collections, making software easily accessible, or facilitating faster installations are all great reasons to learn ISO creation. Whether you want disk backups, better storage, or simply nostalgia, mastering ISO images puts you two steps ahead in today’s disc-free world.