
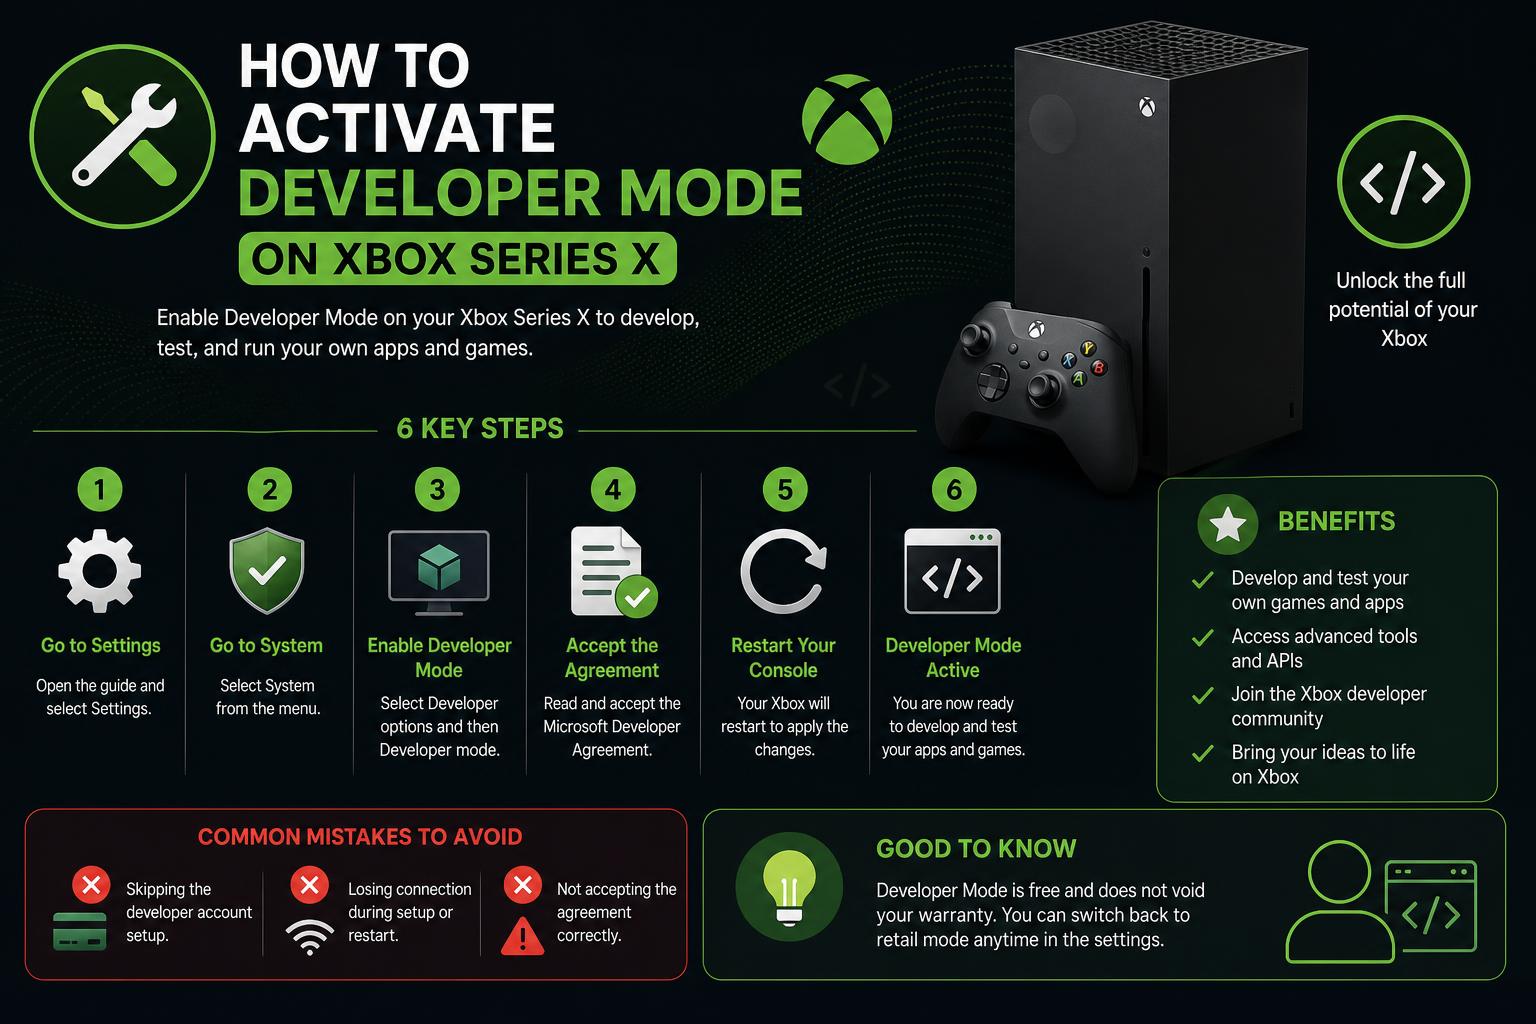
- Developer Mode on Xbox Series X provides access to custom apps, emulators, and UWP software.
- The setup process involves registering a Microsoft Partner account and configuring both the console and a PC.
- Proper storage formatting and remote access options are essential for smooth operation in Dev Mode.
If you’ve ever wanted to unleash more of your Xbox Series X’s potential—installing homebrew apps, exploring emulation, or simply playing around with Universal Windows Platform (UWP) software—then you’ve probably heard about Developer Mode. While it might seem intimidating at first, the process is very approachable, even if you’re not a professional developer. Here you’ll find a comprehensive, step-by-step tutorial, filled with practical advice and essential warnings that will help you not just enable Developer Mode, but also get the absolute most out of it.
There’s a lot of scattered information online, some of it just for advanced users, and some of it outdated or incomplete. In this guide, you’ll get up-to-date, clear instructions along with helpful troubleshooting tips, deep dives on storage and permissions, and security best practices. Whether you plan to run emulators, test apps, or simply enjoy greater control over your hardware, this article will walk you through it all with straightforward language and a natural, friendly tone.
What is Xbox Developer Mode—and Why Use It?
Developer Mode is a special environment on the Xbox Series X (and previous generations) that splits your console into two operating states: Retail Mode and Dev Mode. In Retail Mode, your Xbox acts just like any other—playing commercial games and apps. But once you switch over to Dev Mode, you unlock the ability to install and run unsigned UWP games and applications, a variety of emulators, and even your own projects.
This feature is officially provided by Microsoft and, unlike complicated jailbreaking, it doesn’t void your warranty, nor does it require any hardware modifications. It’s perfect for those looking to experiment, use homebrew software, or simply get more from their beloved console.
Preparing for Developer Mode: What You’ll Need
Before diving in, make sure you have the essential requirements ready:
- An Xbox Series X, Series S, or Xbox One console
- Access to a Windows 10/11 PC (physical or virtual machine)
- Reliable internet connection for both devices
- An external USB storage device (preferably 16GB or larger, NTFS formatted)
- A Microsoft Account (preferably one not tied to organization restrictions)
- A valid payment method (one-time fee required to register for developer access)
About the Microsoft Developer Account: One-Time Preparation
The first real step is to create a Microsoft Partner (Developer) Account. Microsoft requires a small payment—a one-off fee (usually $19 US)—for security and eligibility management. This is necessary to get access to the full Dev Mode capabilities.
To sign up:
- Visit the Microsoft Developer Registration page.
- Hit the “Sign Up” button and log in with your desired Microsoft Account.
- When prompted, select Individual (unless you’re registering as a company, in which case company details are needed).
- Enter accurate contact and payment details—including a unique display name for your developer identity. Using your Gamertag is fine if you’re not registering a company.
- Pay the one-time fee using a valid credit or debit card.
- Once registration is successful, click “Go To Dashboard” to finalize the setup. No need to provide a business website.
Heads-up: Sometimes payments fail due to regional issues—try another card, region, or retry later if you hit snags. Tips around certain region/postal code combos (like using Argentina for MasterCard or Turkey for Visa) have helped others bypass stubborn registration hiccups.
Exiting Xbox Insider Preview (to Avoid Errors)
If you’re part of the Xbox Update Preview program via the Insider app, it’s wise to leave this preview program before activating Developer Mode—this avoids frustrating errors (like the infamous E208 error) during the process.
To leave Xbox Update Preview:
- Open the Xbox Insider App on your console.
- Navigate to Update Preview > Manage > Leave Preview.
- Update your console firmware through the standard Settings menu afterward.
Switching between Dev Mode and Retail Mode always wipes Quick Resume states and local captures, so backup important captures to your external drive.
Setting Up Developer Mode on Your Xbox Series X
Installing Developer Mode itself is a straightforward process:
- On your Xbox, open the Microsoft Store app and search for Xbox Dev Mode (not the “Dev Mode Activation” app—choose the one with a green icon and Series console imagery).
- Download and install the “Xbox Dev Mode” app. Launch it after installation.
- Follow the on-screen prompts until you’re presented with an activation code.
- On your connected PC, open your browser and go to https://aka.ms/activatexbox (or access it via your Microsoft Partner dashboard under device management).
- Enter your activation code, select your Microsoft Developer account, and confirm. Your console will now be registered as a Dev Device.
- Once confirmed, choose “Switch and restart” on your Xbox. The system will reboot into Developer Mode!
Dev Mode Initial Configuration and Storage Allocation
After your Xbox restarts into Developer Mode for the first time, you should allocate some storage to Dev Mode for future app/game installation:
- Navigate to the Manage Dev Storage menu on your Xbox.
- Allocate a minimum of 5GB of space for Dev Mode apps and data. Your Xbox will restart again to apply the changes.
- Pro Tip: You can’t use the same drive letters for storage as in Retail mode—the system assigns different letters (Drive E for Dev Mode, Drive D for Retail), so be sure to adjust any external storage paths when moving between modes.
Formatting USB Drives for Developer Mode Apps & Emulators
To install custom apps or emulators (such as RetroArch or Dolphin), you’ll need an NTFS-formatted USB drive with the correct permissions:
- Plug your USB drive into your Windows PC.
- Format it to NTFS (right-click drive > Format > set File System to NTFS > Start).
- Set permissions so all apps can use it: Right-click drive > Properties > Security tab > Advanced > Add > Select Principal > Advanced > Find Now > “ALL APPLICATION PACKAGES” > OK > tick “Full Control” > OK > tick “Replace all child object permission entries” > OK. Click continue/ignore any System Volume Information warnings.
- Once done, safely eject and connect the drive to your Xbox. Set it as Media only—do not select Games and Apps.
You can also automate this process by downloading XboxMediaUSB (official tool from GitHub), which helps with automated formatting and permission setup.
Configuring Internet and Enabling Remote Access
To allow app installs and easier management, you’ll want to enable Remote Access through the Xbox Device Portal—effectively a web-based admin panel for your Xbox.
- Go to Settings > Network Settings and set up your wired/wireless connection.
- In Dev Mode Home, look at the Remote Access section (bottom right)—select “Remote Access Settings.” Turn on “Enable Xbox Device Portal.”
- If you want security, require authentication and set a username/password (separate from your Microsoft account).
- Note the unique Device Portal URL shown—open this in a web browser on your PC. Accept the security warning if prompted.
- Log in with the credentials you just set.
The Device Portal allows you to remotely add/remove apps, configure the system, take screenshots, and monitor performance—all via your browser.
Getting the Most from Dev Mode: Installing Apps and Emulators
Now comes the fun part! With Device Portal access enabled and your storage set up, you can start adding UWP apps, emulators, and game files.
- Download your desired emulator packages (such as RetroArch, Dolphin, or others from developer communities like Emulation Revival).
- Extract their contents on your desktop—it usually includes an MSIX package and dependency files (DLLs, frameworks, etc., generally labeled x64).
- In Device Portal, go to “My games & apps” and click the green Add button.
- Drag your main app file and dependencies over, click “Next,” and follow the on-screen instructions (add all dependencies prompted for, one by one).
- After installation, your apps and emulators will appear in the Games & Apps section in Dev Mode Home. Launch from there!
If you experience errors launching certain emulators on Xbox One but not Series X/S, check for compatibility—the newest builds often prioritize newer consoles.
Managing Test Accounts and Preferences
In Dev Mode, you need to sign in with your developer account even if you’re already logged in elsewhere. Go to the Test Accounts window (top right) and ensure your developer account email appears and is checked. Add it if needed.
For extra flexibility, open the Device Portal’s Settings > Preferences and make sure both Xbox App connections and “Treat UWP apps as games by default” are ticked. You can also change the home screen layout here, switching Dev Mode’s dashboard to a familiar Retail look if you prefer.
Switching Back to Retail Mode—and Safeguarding Your Apps
You can switch between Dev and Retail Mode at any time:
- On Dev Mode Home, select “Leave Dev Mode.” Do NOT check the box that says “uninstall all side loaded apps/games” unless you wish to delete your entire Dev Mode library!
- Some users recommend using a Safe-Exit app for a smoother, safer transition (search online for recent versions).
If you power off your console in Dev Mode, it’ll still boot into Dev Mode unless you explicitly change it. You’re not forced to re-login or re-register unless you perform a factory reset.
Limitations and Important Considerations
Key limitations and insights:
- Dev Mode operates in a “sandbox”—you can’t join parties, access Xbox Live multiplayer, or upload clips. Messaging works, and internet connectivity for things like emulator netplay (provided through apps) is still present.
- You can continue to take screenshots and game captures, although not all features from Retail Mode are supported.
- If you store emulator configurations on external drives, remember that path letters differ between Retail and Dev modes. Double-check your paths if you switch frequently!
- To avoid reinstalling frequently, make use of Device Portal bookmarks (strip out any #home suffix for reliability).
- Many emulators or apps require their own updates to function correctly, especially on older consoles. Stay plugged into community websites like for support, updates, and troubleshooting tips.
Advanced: Hidden Developer Settings Menu
On some consoles (primarily Dev Kits, but occasionally public firmware), you can access an additional hidden Developer settings menu:
- Go to Settings > System > Console Info.
- Press the sequence: LB, RB, LT, RT (one at a time—not together).
- Look for a new “Developer Settings” or “Dev Mode” entry. This provides access to further dev functions, especially if you run into configuration issues.
Troubleshooting: What If Something Goes Wrong?
Common problems can often be resolved with these fixes:
- If payment fails during developer registration, try switching account regions (Argentina and Turkey workaround), alternate cards, or using another device/browser.
- If your console isn’t appearing for activation, keep retrying by pasting directly, searching the URL, or using incognito mode. Microsoft’s Partner portal can be slow to update.
- If storage isn’t recognized for emulators, double-check NTFS formatting and manual permissions. Use XboxMediaUSB if you encounter persistent file system issues.
- For network or Device Portal issues, ensure both your PC and Xbox are on the same network and nothing is blocking traffic (especially TCP/UDP port 9002).
Leaving a Few Expert Tips
Bookmark your Device Portal link—minus any URL fragments—so you’re always one click away from managing your apps and storage, as you won’t often need to revisit the Partner Center after the initial setup.
Keep an eye on community forums and wikis such as XBDev Store Wiki for the latest troubleshooting and emulator compatibility updates. Since Microsoft and the homebrew community actively patch issues and release updates, staying current saves you headaches.
Activating Developer Mode on your Xbox Series X opens up an exciting world of custom apps, emulation, and advanced features that go far beyond standard console use. While there are a few hurdles—like registering as a developer, setting up permissions, and learning to switch between modes—the payoff is enormous for those willing to dig in. Armed with this detailed, all-in-one guide, you can ensure a smooth, safe, and enjoyable journey into your console’s true potential.