
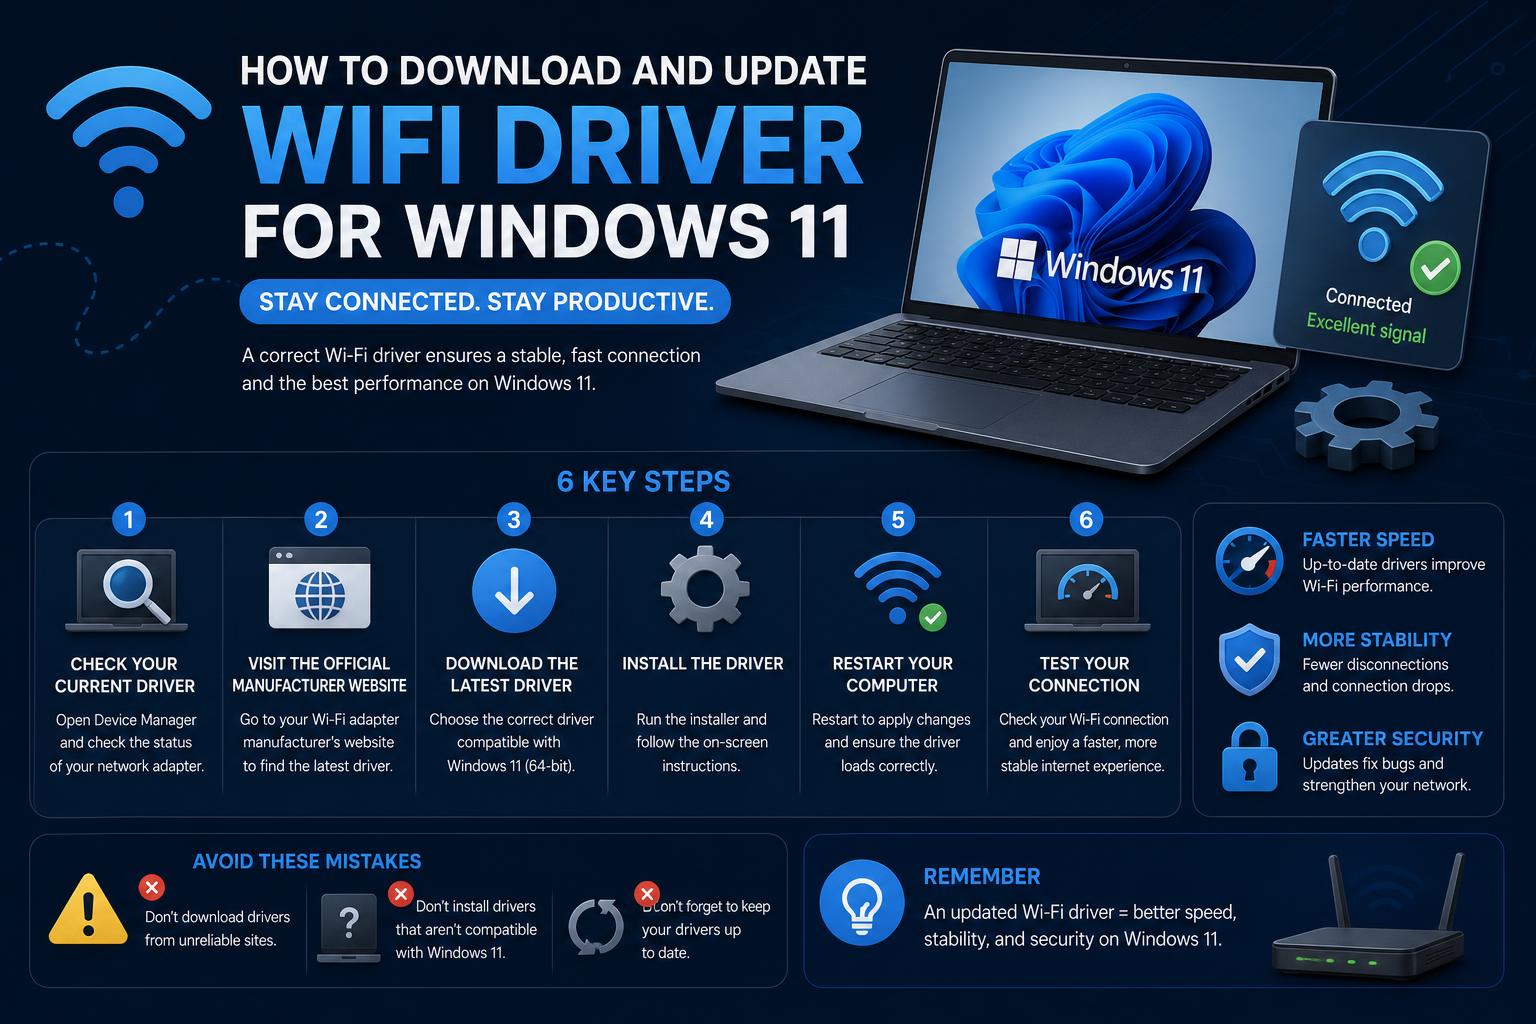
- Always identify your Wi-Fi hardware and use the latest official driver.
- Offline installation is possible with a USB drive and the correct preparation.
- For OOBE/network setup blocks, open Command Prompt and use File Explorer for manual driver installs.
Struggling to get your PC online because your Wi-Fi isn’t working in Windows 11? You’re not alone! Many users upgrading to Windows 11 or setting up a brand-new computer encounter problems with missing Wi-Fi drivers or network connectivity during installation. If you find yourself stuck at the Windows setup screen unable to detect Wi-Fi networks, or you’re trying to update/install a Wi-Fi driver from scratch, you’ve just found your one-stop guide.
This article will walk you through every step of finding, downloading, transferring, and installing the proper Wi-Fi drivers on Windows 11—including tips for fixing annoying connection issues during installation, manufacturer-specific advice, and what to do if your computer doesn’t have internet access at all yet.
Whether you have an Intel, Realtek, or other wireless adapter, or you’re working with a system from brands like ASUS, Lenovo, HP, or others, you’ll find expert advice here. We’ll cover troubleshooting the Out Of Box Experience (OOBE), working around offline driver installation, and best practices to make sure your PC is ready for action.
The Importance of Wi-Fi Drivers in Windows 11
When you install or upgrade to Windows 11, your operating system needs the correct Wi-Fi drivers to recognize and use your wireless network hardware. If these drivers are outdated, missing, or incompatible, you may not be able to connect to Wi-Fi—even if you used to have a working connection on an earlier version of Windows.
Wi-Fi drivers are specialized programs provided by hardware manufacturers (such as Intel, Realtek, and Qualcomm) that act as translators between Windows and your wireless chipset. Microsoft ships a collection of generic drivers, but for best compatibility (and especially for new chipsets), you usually need a manufacturer-specific package.
Common Scenarios: When and Why Wi-Fi Drivers Fail
- Fresh installation or upgrade: Windows 11 may not come with your particular wireless driver, leaving you offline until one is installed.
- Brand new PC builds: Custom-built desktops often require you to install drivers manually, especially if your motherboard uses a new or uncommon Wi-Fi chip.
- OOBE connectivity block: During the initial setup, Windows 11 often refuses to move forward without an internet connection, which is impossible if the Wi-Fi driver is missing.
- Driver corruption or compatibility problems: Sometimes a Windows Update, BIOS flash, or system crash can break driver compatibility, and manual reinstall is the only fix.
Step-by-Step Guide: Downloading the Right Wi-Fi Driver
The most reliable way to obtain the correct Wi-Fi driver for your device is to go directly to the original manufacturer’s support website. Here’s what to do:
- Identify your Wi-Fi chipset/brand and model (e.g., Intel, Realtek, Mediatek, Qualcomm, etc.) or your computer/motherboard model (e.g., Lenovo V50t, ASUS ROG Z690, etc.).
- Visit the manufacturer’s support or download page (for example, Intel’s official Wi-Fi driver page or Lenovo’s Realtek Wi-Fi Drivers for Windows 11).
- Be sure to select the Windows 11 version and the driver that matches your exact device or chipset.
- Download the installation package to a device with internet access. This could be another PC, laptop, or even a smartphone.
What If Your Windows 11 PC Can’t Connect to the Internet?
This is a common scenario for brand new builds, or computers that lost their drivers after a clean installation. If you don’t have an Ethernet (wired) connection as a fallback, you’ll need to use a USB flash drive or an external hard drive to shuttle the drivers over. Here’s a reliable process:
- Use another device (with internet) to download the driver installer from your hardware vendor’s website.
- Copy the installer to a USB stick or external drive.
- Plug the USB drive into your Windows 11 computer.
- Open File Explorer, double-click the installer, and follow on-screen instructions to install the driver.
- Reboot your system after completion to ensure the driver is properly installed.
If you still have no connection, move on to the next section to resolve installation issues during Windows 11 setup.
Troubleshooting: No Wi-Fi Available During Windows 11 Installation (OOBE)
Some users get blocked at the Windows 11 Out Of Box Experience (OOBE), where the operating system prompts for internet but refuses to move forward because no Wi-Fi networks show up. Follow this process based on OEM guides, especially if you’re using an ASUS, Gigabyte, or similar system:
- On another device, download the latest wireless LAN (WLAN) driver from your motherboard or laptop maker’s website. Make sure it matches your system model and supplier—look for terms like Intel WLAN or Realtek WLAN.
- Transfer the installer package to a USB flash drive.
- When the Windows 11 installer is asking you to connect but shows no Wi-Fi options, press Shift + F10 to open the Command Prompt.
- Enter C:\Windows\explorer.exe & exit to launch File Explorer, which lets you browse files during setup.
- Locate the WLAN driver on your USB drive and double-click to begin the installation. If an installer wizard opens, follow the prompts (accept license, confirm path, and install).
- Once installed, close File Explorer, and you should now be able to see available Wi-Fi networks or retry network connection in the setup.
- If prompted, reboot your computer to finish activating the new drivers.
If problems persist and you are using an ASUS device, consult the official ASUS guide or contact their customer support.
Updating or Reinstalling Wi-Fi Drivers from the Desktop
If you are already on the Windows 11 desktop but your Wi-Fi still isn’t working, take these steps inspired by Microsoft community answers:
- Download the correct driver from the hardware manufacturer’s site (using an internet-connected device).
- Transfer the file to your Windows 11 PC using a USB drive or other media.
- Press the Windows key + X and select Device Manager.
- Expand the Network adapters section.
- Right-click your Wi-Fi adapter and choose Update driver.
- Select Browse my computer for drivers and navigate to the downloaded file.
- Follow the on-screen prompts to complete the update.
- Once finished, restart your PC to apply the changes.
If you don’t see your Wi-Fi adapter in Device Manager, make sure it is enabled in your BIOS/UEFI. Some motherboards have an integrated Wi-Fi toggle switch.
Getting Drivers When the Situation Is Tricky
- If you have a smartphone and a USB cable, use your smartphone’s internet connection to download drivers or share the connection via USB tethering.
- For custom PCs, motherboard-specific support pages and forums (like the Gigabyte subreddit) can help you find the exact files for your model.
- In cases of stubborn OOBE issues, booting from a USB drive with pre-loaded drivers may be your best final option.
Manufacturer-Specific Wi-Fi Driver Resources
- Intel: Download the latest Wi-Fi drivers for Windows 10 and 11 from Intel’s official download site.
- Lenovo: If your device uses Realtek chips, grab the Windows 11 drivers directly from Lenovo Support.
- ASUS: The complete guide for troubleshooting OOBE driver issues is available on the official ASUS support page.
- Other brands: HP, Dell, MSI, and similar manufacturers have dedicated support hubs; search using your system model + “Windows 11 Wi-Fi driver”.
Pro Tips for a Seamless Wi-Fi Driver Installation
- Always download drivers directly from the OEM or hardware vendor site—third-party driver tools may offer outdated or insecure software.
- Check BIOS or UEFI settings to confirm your Wi-Fi adapter isn’t disabled at the hardware level, especially after firmware or BIOS updates.
- If you lose Wi-Fi connection after restarting, uninstall the current driver from Device Manager and reinstall the latest version cleanly.
- For very new hardware, beta or preview drivers might be available on official forums or manufacturer beta channels.
Restoring Wi-Fi connectivity in Windows 11 requires patience and organization, especially after a clean installation or when setting up new hardware. Armed with the right steps, overcoming Wi-Fi driver issues is straightforward. Stick to official documentation, download files directly, and keep installer packages ready on a USB drive just in case. If you encounter further difficulties, contact your hardware manufacturer’s support for quick assistance.
Complete Windows 11 Printer Setup Guide: Installation, Drivers and Troubleshooting