
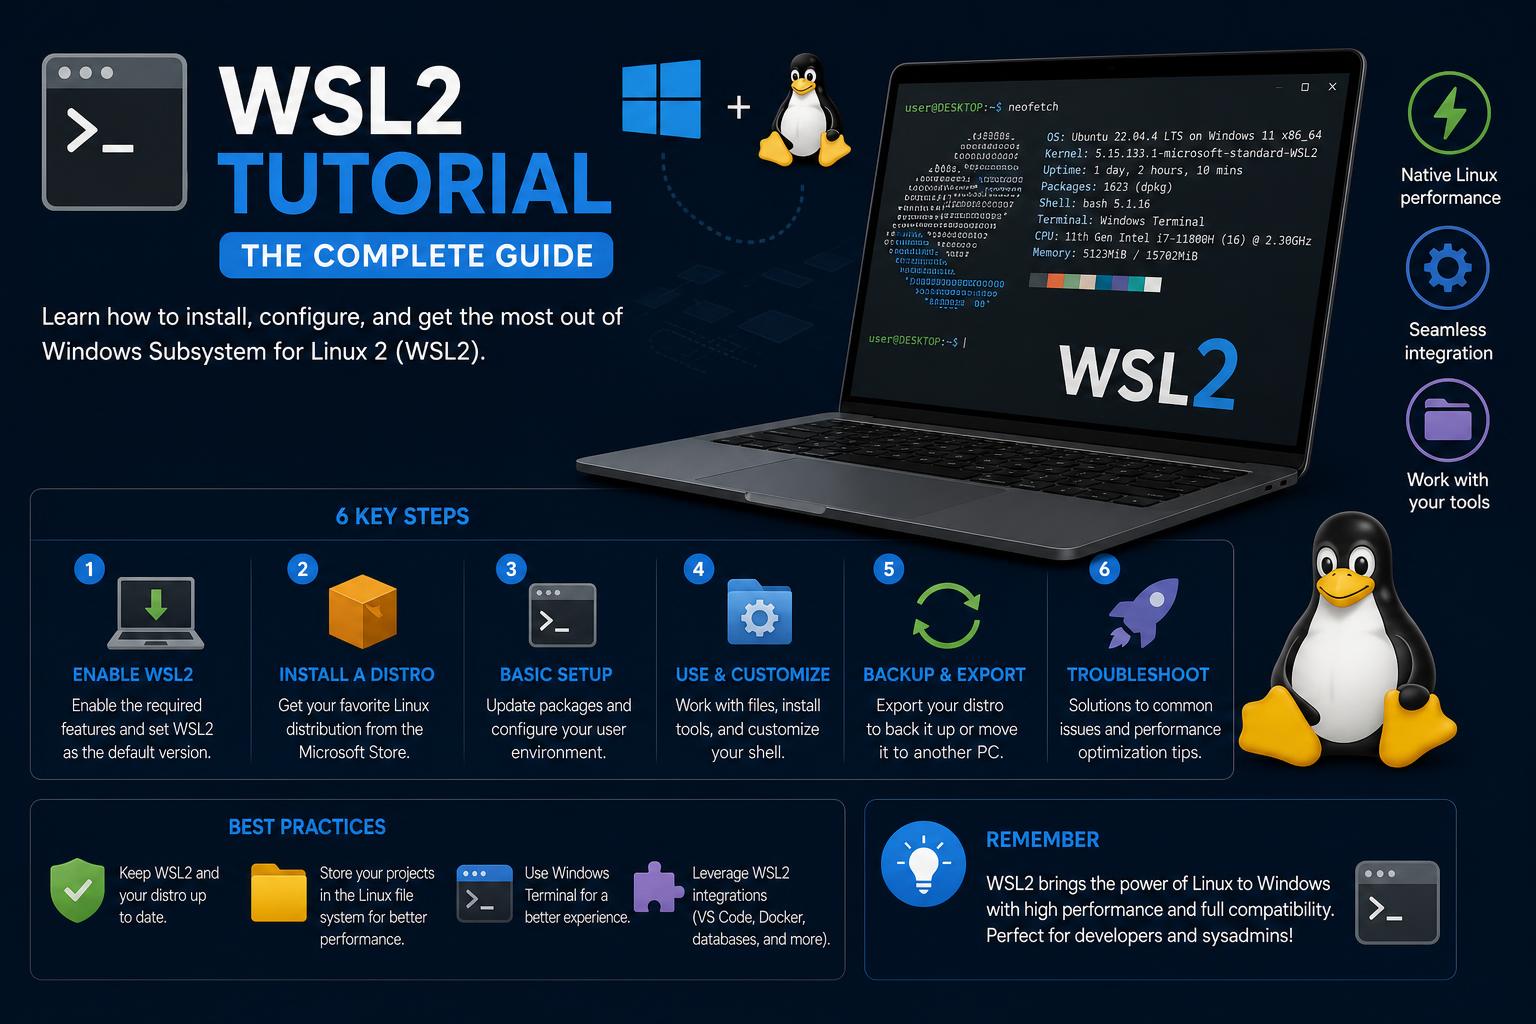
- WSL2 enables running Linux distributions on Windows seamlessly.
- Installation and configuration are streamlined, but customization offers advanced options for users.
- Best practices for development environments and file system management improve workflow efficiency.
If you’ve ever found yourself juggling between Windows and Linux, wishing for fewer headaches when switching systems or developing cross-platform apps, you’re going to want to get familiar with WSL2. The Windows Subsystem for Linux 2 (WSL2) is a breakthrough from Microsoft that lets you run a full Linux environment directly inside Windows—no complex virtualization, no dual-boot woes, just the best of both worlds, right at your fingertips. Whether you’re a seasoned developer or just starting your journey into Linux, WSL2 opens the door to tools, workflows, and software previously accessible only through a dedicated Linux machine.
This guide is your all-in-one reference to getting started with WSL2, from installation to daily usage, troubleshooting, and pro-level customization. Drawing on the most up-to-date and authoritative resources, as well as community best practices, you’ll find answers to your questions, step-by-step walkthroughs, and practical advice for making WSL2 an integral part of your developer workflow. Let’s dig in and see how easy and powerful it can be to run Linux on Windows—with zero hassle.
What Is WSL2 and Why Should You Use It?
WSL2 is the second generation of the Windows Subsystem for Linux, allowing users to run a real Linux kernel within Windows 10 (version 2004 and above) and Windows 11. Unlike traditional virtualization or dual-boot solutions, WSL2 is lightweight, fast, and offers seamless integration between Windows and Linux systems. Developers can enjoy access to major Linux distros like Ubuntu, Debian, Kali, Arch Linux, and more— directly from their familiar Windows environment. This means you can install native Linux apps, use essential tools like Bash, and interact with both file systems—without any of the resource drain of full-blown virtual machines.
Why is this so game-changing? For many, it’s all about simplified workflow and access to platform-specific tools—whether you’re writing shell scripts, building cross-platform software, managing servers, or learning Linux from scratch. With WSL2, you genuinely get the best of both worlds, and you can customize your setup just the way you like it. Plus, it’s officially supported by Microsoft and integrated tightly with Windows updates, making it a stable, long-term solution rather than some half-baked side project.
System Requirements and Prerequisites
Before jumping in, let’s check your system is ready for WSL2. Officially, you’ll need:
- Windows 10 version 2004 (Build 19041+) or Windows 11.
- An x64 system (most modern PCs are fine).
- Administrator access (you’ll need to run some commands in elevated PowerShell).
If you’re running an earlier version of Windows 10, it is technically possible to install WSL1, but WSL2 brings massive performance improvements and compatibility, so upgrade your OS if you can. For more details, visit Microsoft’s installation guide.
How to Install WSL2: Step-by-Step
1. Launching PowerShell as Administrator
Start by opening PowerShell in Administrator mode. Find PowerShell in your Start menu, right-click, and select “Run as administrator.” Any install commands must be run with admin privileges to modify system components.
2. Installing WSL and Your First Linux Distribution
There’s now a one-shot command to get everything up and running:
wsl --install
This magical command:
- Enables the required Windows features, including the Virtual Machine Platform
- Downloads and installs the default Linux distribution (typically Ubuntu)
Expect to wait a few minutes while files are downloaded and set up. When prompted, reboot your computer.
3. Choosing a Different Distribution
If Ubuntu isn’t your flavor, you can choose something else (like Debian, Kali, openSUSE, or Arch) by using the “-d” flag:
wsl --install -d DistroName
To see all available distributions:
wsl --list --online
Replace “DistroName” with the official name from the list.
4. Manual Installation (For Power Users or Custom Setups)
If you want detailed, granular control—like installing a custom or experimental distro—you can refer to the or import a .tar archive. This allows you to use newer or more specialized Linux environments.
5. First Launch: Setting Up Your Linux User
Once your chosen distribution is installed, launch it from the Start Menu (or via PowerShell/Windows Terminal). You’ll be prompted to set up a username and password specifically for your Linux installation.
Note: Linux typically gives no asterisks or feedback when typing passwords. Just type and hit Enter; it worked!
6. Setting the Default Distribution and WSL Version
You can switch between installed distros, or specify their default WSL version:
- List all installed distros and see their WSL versions:
wsl --list --verbose
- Set the default WSL version for new distros (WSL 2 is strongly recommended):
wsl --set-default-version 2
- Switch an existing distro between WSL 1 and WSL 2:
wsl --set-version DistroName 2
- Switch the primary distro used when running
wslwithout arguments:wsl --set-default DistroName
Customizing Your Workflow: Windows Terminal & Beyond
Windows Terminal is a modern, customizable way to manage command line interfaces on Windows. You can open as many tabs as you want, set your preferred profile (like Ubuntu or Debian), and personalize keybindings, colors, and fonts for your workflow.
Set WSL2 as the Default Terminal:
- Launch Windows Terminal.
- Open the settings from the dropdown next to the new tab button.
- Find the “Default Profile” setting and choose your preferred Linux distro (like Ubuntu).
- Save your changes. Now, every new terminal window will open with WSL2.
You can also launch your Linux terminal directly via the Start Menu by searching for your installed distro’s name (“Ubuntu”, “Debian”, etc.). Either method puts you straight into a full-featured Linux environment.
Running and Managing Multiple Linux Distributions
WSL2 supports installing multiple Linux distributions side by side. Manage and run them completely separately—even have different versions if needed! Here are some useful commands:
- List available distros:
wsl --list --online - See installed distros and their versions:
wsl --list --verbose - Run a specific distro:
wsl --distribution DistroName - Exit your WSL session: Type
exitinside the terminal.
This flexibility is perfect for developers who need to test code across different distributions, or simply explore new Linux environments without any risk.
Upgrading and Updating WSL2
WSL2 is now the default for new Linux installations on Windows, but you can check or update it as needed. To check whether your distribution is using WSL1 or WSL2, use:
wsl -l -v
To upgrade from WSL1 to WSL2:
wsl --set-version DistroName 2
“DistroName” should be replaced with the name of your installed Linux distribution (for example, “Ubuntu”). If you run into errors, make sure the “Virtual Machine Platform” feature is enabled on your system.
Accessing and Managing Your Files
WSL2 creates a Linux-like file system, but you can easily transfer files between Windows and Linux.
- Windows files are accessible from within WSL2 at
/mnt/c,/mnt/d, etc. - Avoid making changes to
/mnt/cfrom WSL2 unless you’re sure—it’s your main Windows drive! - You can also access your WSL2 home directory from Windows by going to
\\wsl$\DistroName\home\youruserin File Explorer.
This integration makes moving files, editing code (with editors like VS Code or Sublime), and using tools or scripts on both sides incredibly easy.
Editing Code and Using External Tools
You’re not limited to command-line editors in WSL! Modern editors like Visual Studio Code integrate directly with WSL2.
- Install VS Code and its “Remote – WSL” extension.
- From your WSL2 terminal, type
code .to open VS Code in your current folder, using the Linux environment. - Files can be edited as if they were local—no file transfers needed.
To dig deeper into using WSL2, you can also check out these resources: how to use OpenClaw on WSL2.
How to Use OpenClaw: The Complete Beginner’s Guide
Other editors (Sublime, Atom, Vim, Emacs, etc.) can be installed on Linux or Windows, whichever you prefer. Just keep in mind which file system you’re working in.
Best Practices for Working with WSL2
- Keep Linux files inside the WSL2 file system (not in
/mnt/c) for the best performance. - Set up version control (like Git) inside your Linux environment.
- Use Windows Terminal for a modern, customizable experience.
- Install the packages you need on Linux using apt, pacman, or your distro’s package manager.
- Avoid making direct changes to Windows system files from your Linux session unless strictly necessary.
Working Offline and Advanced Installations
Need to set up WSL in a restricted or offline environment? Microsoft provides offline installation packages—download the WSL MSI installer and the needed Linux distributions from the WSL GitHub releases or the Microsoft Store, and manually enable the “Virtual Machine Platform” feature:
dism.exe /online /enable-feature /featurename:VirtualMachinePlatform /all /norestart
Then, you can install your Linux distribution from a .wsl file or import custom files. This is especially useful in corporate environments or ones with technology restrictions.
Accessing Newest Features and Keeping WSL2 Updated
If you want access to features still in development, join the Windows Insider Program and pick your preferred channel (Canary, Dev, Beta, or Release Preview). These channels offer early previews (with varying levels of stability), so check carefully before signing up. If you don’t want to switch your whole Windows installation, you can still get the latest WSL features by running:
wsl.exe --update --pre-release
Updating WSL2 regularly will help you enjoy security patches, performance improvements, and new features as soon as they’re available.
Common Issues and Troubleshooting
Even with streamlined processes, complications sometimes come up. Here are a few recommendations to avoid the usual headaches:
- If your new Linux installation won’t start: Confirm that virtualization is enabled in your BIOS and that “Virtual Machine Platform” is active.
- Installation fails or shows errors: Try updating Windows with the latest updates and repeat the steps.
- File access seems slow or odd: Make sure you’re keeping files in your Linux home directory and not in
/mnt/cunless necessary.
For complex errors or advanced support, check Microsoft’s official WSL documentation or visit the WSL GitHub repository.
Exploring Advanced Features: GPU, Databases, and More
WSL2 keeps evolving, offering support for features like GPU acceleration (for AI/ML developers), mounting external drives, and running databases natively on Linux. These advanced features make WSL2 a powerful tool for professionals who need the full capability of Linux—with no compromises.
- GPU support: With compatible hardware and drivers, you can take advantage of CUDA and parallel workloads in WSL2.
- Running databases: Set up MySQL, PostgreSQL, MongoDB, Redis, and more, the same way you would on a native Linux machine. Your workflow stays portable and consistent.
- Network and peripheral access: WSL2 supports smoother integration with networks, external storage, and ports or devices.
Tips for a Smooth WSL2 Developer Experience
Ready to make WSL2 part of your daily development routine? Follow these tips for hassle-free productivity:
- Automate your install scripts for reproducible environments across multiple machines.
- Use the WSL2 terminal for Linux-focused tasks, and PowerShell for Windows tasks. Combine them for greater flexibility.
- Explore Windows Package Manager (winget) alongside Linux package managers for hybrid work.
- Don’t hesitate to try multiple Linux distributions—learn, test, and adapt without risk.
WSL2 makes running Linux on your Windows PC remarkably easy, combining the productivity of both systems without needing dual boot or heavy virtualization. With a simple installation, full system integration, cross-file-system access, and a wide range of customization and development options, you’ll be surprised how easy it is to get started. Make use of the resources above to go deeper, troubleshoot problems, and adapt WSL2 to your specific needs—happy developing on both platforms!