
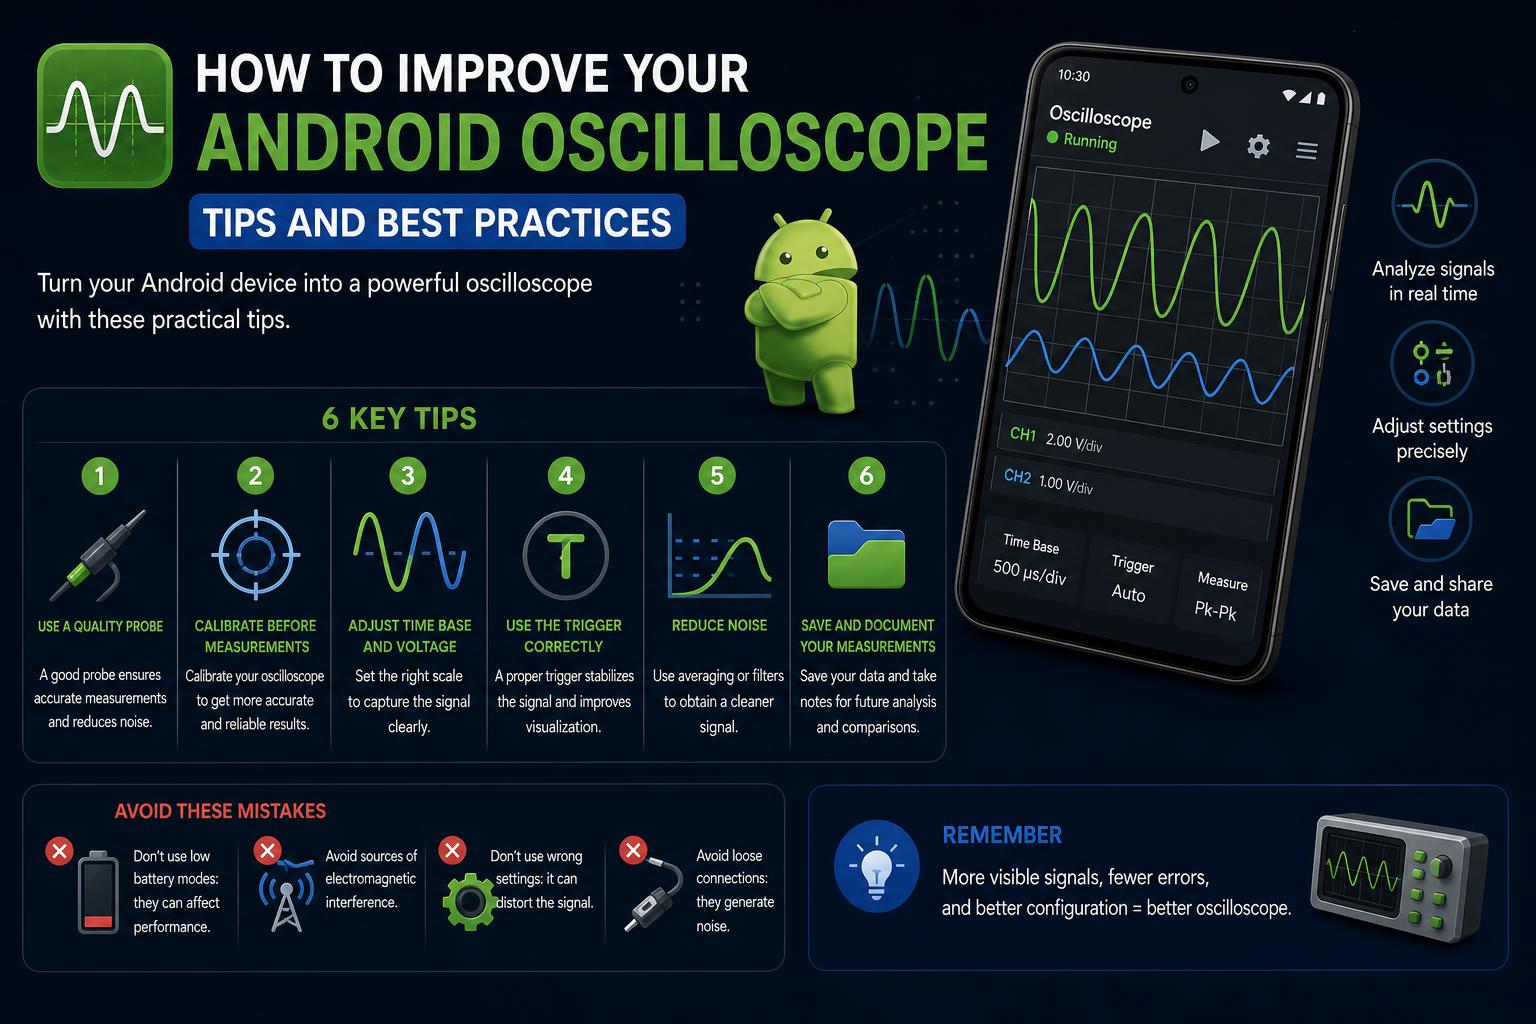
- Android devices can become oscilloscopes using affordable hardware and free apps.
- Different solutions cover basic audio waveform analysis to advanced electronic signal measurement.
- DIY projects and open-source apps offer flexible, cost-effective options for hobbyists.
Imagine having the capabilities of a full-fledged oscilloscope right in your pocket, powered by your Android Phone. For electronics enthusiasts, musicians, engineers, and curious tinkers alike, the days of needing bulky and expensive test equipment have largely faded. Your phone, paired with the right tools and know-how, can become a surprisingly effective signal analysis device. This guide takes you through all the top options, from commercial products to open-source projects and clever software solutions, integrating the most up-to-date and comprehensive information gathered from leading web sources.
Whether you’re debugging circuits, analyzing audio signals, or exploring new hobbyist projects, transforming your Android device into an oscilloscope is more accessible than ever. In this article, we’ll walk through the best available apps, hardware add-ons, DIY kits, and tricks to maximize your Android’s potential as an oscilloscope. Expect practical advice, comprehensive comparisons, and plenty of added context to help you make the most informed choice.
Understanding the Android Oscilloscope Landscape
The traditional oscilloscope is a staple in every electronics lab, but for personal or educational use, its size and cost can be off-putting. Enter the Android oscilloscope—a combination of software and sometimes external hardware, leveraging your smartphone’s processing power and display to visualize electrical signals. There are several main ways you can achieve oscilloscope-like functions with your Android device:
- Microphone-based audio oscilloscopes (analyzing sound or low-frequency signals directly from your device’s microphone input)
- External hardware modules that connect via USB-OTG or Bluetooth for measuring higher or dangerous voltages safely
- DIY and open-source solutions that empower users to build custom front-ends and interfaces
Audio Oscilloscope Apps for Android
If you mainly want to visualize or analyze audio-frequency signals (typically 20 Hz to 20 kHz), your Android phone’s microphone and the right app can serve as a quick and easy oscilloscope. These apps are best for musicians, sound engineers, or anyone needing to analyze sound signals without additional hardware. Here are some standout options:
Oscilloscope – Apps on Google Play
The Oscope app (Google Play link) offers a straightforward interface for displaying audio waveforms using your handset’s microphone. The app is designed to display, measure, and analyze audio signals, featuring scope, meter, and FFT (frequency spectrum) views. With features like FFT peak tracking, readouts, easy screenshot capture, and high-contrast display modes, it’s handy for on-the-move audio diagnostics.
Oscope requires permission to record audio and store screenshots—no complex setup needed. While it handles only signals within the human hearing range, it’s ideal for troubleshooting audio setups, checking synthesizer outputs, or general experimentation. This type of app is favored by musicians, educators, and those needing a quick waveform visualizer.
Oscilloscope – F-Droid Repository
If you prefer open-source solutions, the Oscilloscope app on F-Droid is a feature-rich audio oscilloscope and spectrum analyzer. It supports a wide range of timebases (0.1 ms – 0.5 sec) and includes step, sync, single shot, storage, index, and spectrum tools. The spectrum view even provides the dominant frequency and signal level, making it great for both real-time analysis and close inspection of audio signals.
The intuitive toolbar enables you to lock displays, scroll through data, and quickly access powerful measurement features. This app is a favorite among those who value privacy and want to avoid proprietary software.
Creative Uses: Turning Your Smartphone into a Basic Oscilloscope
Forum users and hobbyists often wonder: Can you really use your smartphone as an oscilloscope—beyond just audio signals? On platforms like Reddit and Arduino forums, tinkerers have shared their experiences:
- Many basic Android oscilloscope apps depend on the mic input, so they’re inherently restricted to low-voltage, low-frequency signals (i.e., audio range, maxing out at about 20 kHz, usually not handling complex electronics debugging).
- Custom-built probes or pre-made hardware front-ends can extend your phone’s capabilities. For example, using a custom circuit to attenuate or amplify signals before feeding them into the mic jack or via USB.
- Bluetooth-based solutions exist, but often require more advanced DIY hardware and are less common for casual users.
- For those who want to learn the basics of oscilloscopes before buying real equipment, trying out an Android app or simple kit is a good first step.
For audio and very basic electronic projects, phone-based oscilloscopes are a fun and educational starting point. If you need more, the next step is hardware add-ons, either purchased or built yourself.
Dedicated Android Hardware for Oscilloscopes
Audio-based solutions are quick, but if you need to analyze electronic circuits or higher/faster voltages, dedicated hardware designed for Android connectivity comes into play. These devices generally connect to your phone or tablet via USB-OTG and work with a specific app to enable serious signal testing. Let’s look at some standout options drawn from the current top-ranking content:
HS502 Android Portable Oscilloscope
One standout product is the HS502 Android Portable Oscilloscope, designed specifically to work with the HScope app. This compact unit features dual channels, selectable ADC resolution (8, 12, or even 16 bits), and impressive input protection up to 50V peak.
- Powered by an ARM Cortex-M4 microcontroller and capable of sampling up to 13 million samples per second at 8 bits or 6.5 million at 12 bits, it’s more than enough for many hobby, automotive, and educational applications.
- It includes a quality USB-OTG cable (with EMI shielding), but buyers must supply their own oscilloscope probes (BNC connectors are standard).
- The oscilloscope works exclusively with the HScope app, which unlocks all features when the device is connected.
- Compatible with Android 7.0 and above, although performance varies by device; a modern CPU (2.1 GHz or higher) is recommended for smooth operation.
This solution stands out for its compact size, good specifications, and software integration, making it suitable for mobile diagnostics or learning.
Scoppy: An Open-Source Oscilloscope with Raspberry Pi Pico
If you’re a fan of building your own solutions and have a Raspberry Pi Pico, Scoppy is an incredible open-source project that can turn your Pico into a powerful oscilloscope and logic analyzer for your Android.
Here’s how it works:
- Install the Scoppy Android app and the corresponding firmware on your Pico.
- Connect the Pico to your Android device via USB-OTG, or set up Wi-Fi using the Pico W for wireless data transmission.
- Build an analog front end (AFE) for signal conditioning, making sure signals stay within the Pico’s 0-3.3V ADC range.
The community provides detailed installation guides, tutorials, and support forums. You can also buy pre-assembled front-end modules, but the plans and instructions are freely available if you prefer to do it yourself.
Not just an oscilloscope: Scoppy adds logic analysis, with support for up to 8 channels and logic speeds of up to 25 million samples per second (with suitable front-end hardware). A vibrant community continuously improves compatibility and features.
Building Your Own Front End and DIY Projects
A popular strategy among hobbyists is to create their own analog front end for use with open-source Android oscilloscope solutions—especially when commercial options are unavailable or too expensive. Here’s a real example from Hackaday:
Custom Front-End Design for Scoppy and Pi Pico
The challenge: The Raspberry Pi Pico’s ADC inputs only support 0-3.3V, but many electronic signals exceed this. Connecting such signals directly can damage the chip.
The solution: An analog front end that:
- Offers three selectable ranges: -330 to +330 mV, -3.3 to +3.3V, and -33 to +33V
- Allows probes to be connected via standard BNC connectors
- Includes an internal signal generator for calibration, producing square waves up to 1.25 MHz and 1 kHz sine waves (pulse-width modulation)
- Uses through-hole components to make prototyping easier
These DIY designs give users the flexibility to adapt the oscilloscope to their needs, whether for education, experimentation, or semi-professional testing. Detailed assembly guides and adaptation tips can be found in active forums and project pages.
Community Tips
Forums like Arduino and Reddit are full of practical advice from users who have tried Android oscilloscopes in real-world situations. Key recommendations include:
- Using DIY or ready-made scopes is an excellent way to learn the basics before investing in expensive lab equipment.
- For greater flexibility, consider getting quality probe sets (1x/10x) early on—they can be used with oscilloscope kits and eventually with professional equipment.
- Many suggest trying brands like JYEtech if you want affordable learning scopes, and then moving on to used professional equipment once you have gained experience.
- When buying used professional equipment, test it in person whenever possible and read thorough reviews.
- DIY Arduino oscilloscopes are limited to low bandwidths and should only be considered for basic learning exercises.
Where to Buy and Start Your Journey
The Android oscilloscope ecosystem has grown, and there are free and paid options depending on your needs:
- Commercial products and hardware with a bundled app (like the HS502) are available in specialized electronics stores and major retail platforms, with support and documentation.
- Open-source and DIY projects (like Scoppy) are available on official sites, GitHub, and online maker stores. The community provides support and active updates, although some prior assembly is required.
For beginners, try an audio oscilloscope app first. For deeper signal analysis or real electronics work, consider a USB oscilloscope or a DIY Raspberry Pi Pico-based solution. Most require Android 7+, and more modern phones offer better sampling performance.
Key Factors and Limitations
Although smartphone oscilloscopes can be surprisingly powerful, they are not magic solutions. Always keep these limitations in mind:
- Microphone-input oscilloscopes are inherently limited to audio frequencies and low voltages.
- External hardware is needed to examine higher voltages, fast logic signals, or complex circuits.
- DIY builds require basic electronics skills, although many community resources offer comprehensive guides and forums for beginners.
- Not all apps or hardware are compatible with all Android devices. Check compatibility and permissions before purchasing or installing.
Despite these limitations, for hobby work, education, and field diagnostics, Android oscilloscopes democratize access to technology that only a few lab rooms could once afford.
Thanks to the growing selection of free apps, open-source projects, and innovative hardware, almost anyone can transform their Android phone into an oscilloscope—ideal for learning, experimenting, or solving real problems in electronics and audio. Explore the solutions mentioned, take part in their active communities, and discover how much you can achieve with a device you already own and a little creativity.