
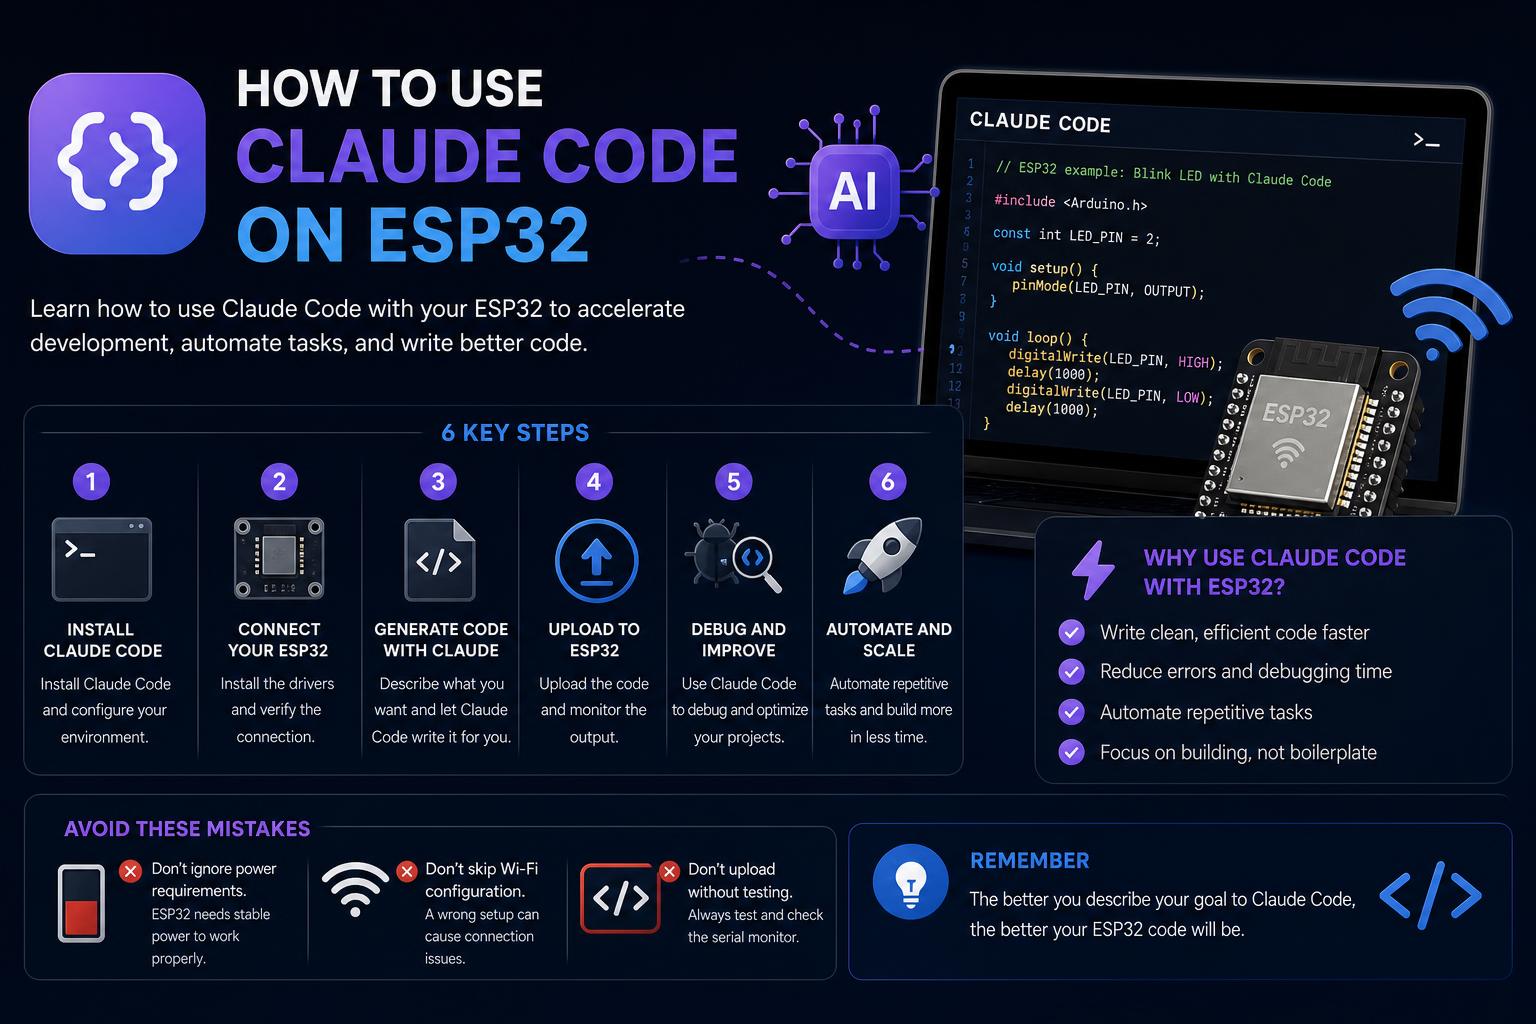
- Claude Code AI has significantly lowered barriers for both beginners and experienced developers looking to leverage ESP32 for smart home automation, data dashboards, and tailored health tools.
- Open-source projects and detailed user stories reveal that AI-driven development enables rapid prototyping, clearer configuration, and robust troubleshooting, making advanced microcontroller applications possible even for those without prior hardware experience.
- Popular community projects like Clawdmeter showcase the breadth of what’s possible—Bluetooth dashboards, multi-sensor boards, and hands-free workflows—with high levels of customization and cross-platform support.
Interest in using Claude Code AI for ESP32 projects is exploding in developer circles. Microcontrollers like the ESP32 are revolutionizing smart home automation, dashboards, personalized health tools, and data acquisition—but getting started can feel like hacking through a jungle of documentation. Now, with Claude Code, even the hardware-shy are jumping in and building devices that once seemed out of reach.
This extensive guide takes you on an in-depth tour of what’s possible when you mix Claude Code, ESP32 boards, and everyday creativity. We’ll break down real-life projects, explain how beginners and advanced makers are sidestepping their biggest headaches using Claude Code, and show you how to leverage open-source tools and AI for your smart home, data dashboards, and hands-free workflows. Whether you’re a pro looking to go fast, or a beginner craving your first win, the following is packed with the practical details, quirky use cases, and pro tips you need to succeed—no cloned phrases or recycled how-tos, just fresh insight built on leading examples.
Claude Code: Lowering Barriers for ESP32 Newcomers
The ESP32 is a compact, Wi-Fi-enabled microcontroller that unlocks custom automation, sensors, and wireless integrations. Many tinkerers gravitate to it after finding off-the-shelf gadgets limiting or too expensive for personalized automation. Platforms like Home Assistant thrive on the ESP32’s flexibility, but newcomers often hit walls deciphering jargon (GPIO, UART, voltage levels), pin layouts, or wrestling with error-prone firmware flashes.
Claude Code AI shifts the paradigm. Instead of poring over PDFs and forum posts, users can converse with an AI, feeding it plain-language project goals and getting back everything from wiring instructions to YAML configuration and code troubleshooting. This interactive process dramatically speeds up prototyping and time-to-success, as highlighted in the XDA Developers hands-on writeup, where Claude Code helped a Home Assistant enthusiast go from zero to a feature-rich sensor array without hardware experience.
Mastering Claude Code Skills for ESP32: Complete Guide to AI-Powered Embedded Development
Why People Used to Avoid the ESP32 (and Why That’s Changing)
Many enthusiasts hesitated to touch ESP32 boards because the learning curve looked steep. Pinouts are unique to each model, sensors speak in unfamiliar voltages, and tutorials often gloss over crucial basics, assuming a foundation in electronics that not everyone has.
The traditional process looked something like this:
- Identifying suitable sensors or modules (motion, temp, humidity, light, etc.)
- Decoding which pins and voltages work for safe operation
- Hand-drafting or scouring for wiring diagrams (with little context)
- Wrestling with firmware, YAML configs, and obscure error messages
- Integrating the finished device into an ecosystem like Home Assistant
This process—while extremely powerful if you have the time and patience—is notorious for stopping promising projects midway, especially for those new to hardware hacking or those who mostly code software.
ESPHome partially reduced complexity by letting users describe their setup in YAML and generating firmware. Yet, many still got stuck at pin mapping, understanding I²C versus UART, and the finer points of board selection and sensor addressing—leading to delays, burnt-out boards, or abandoned ideas.
How Claude Code Accelerates ESP32 Development
AI as Interactive Mentor: A Practical User Story
Imagine acquiring an ESP32-WROOM-32 DevKit V1 and collecting a few mainstream sensors: a Hi-Link LD2410C mmWave presence sensor, a BME280 temp/humidity sensor, and a BH1750 light sensor. The goal? A single board reporting presence, temperature, humidity, and ambient light to Home Assistant for smart automation.
Claude Code transforms this idea into reality: You share the sensor names and wiring limitations in plain English. The AI suggests specific pin pairings (e.g., GPIO16/17 for UART; 21/22 for shared I²C), explains protocol nuances (i.e., why TX from the sensor goes to RX on the board), and produces a working ESPHome YAML file covering each sensor and the full configuration stack—including Wi-Fi updates and Home Assistant API integration.
Once flashed, you get real-time, multi-sensor data in your dashboard, controlling lights based on both movement and ambient conditions, hiding unused readings, and accessing device settings like detection range—all unified in a single homemade device. Firmware tweaks or troubleshooting are solved conversationally with Claude Code (“Why are these wires shared? Why is my reading off?”), cutting debugging from hours to minutes.
Supercharging Home Automation: Replace Multiple Devices with One Board
The appeal behind AI-guided ESP32 projects becomes clear in automation use cases. By integrating multi-sensor support, users avoided piecing together several off-the-shelf gadgets, instead customizing detection sensitivity (e.g., adjusting mmWave presence sensor range or sensitivity from Home Assistant UI), and stacking sensor logic for more refined automations—for example:
- Trigger lights only when presence is detected and the room is dark
- Measure temperature/humidity for comfort monitoring or HVAC triggers
- Fine-tune detection logic to minimize false alarms or missed presence
The impact goes further when ESPHome’s over-the-air update feature is added, meaning once the initial installation is done over USB, firmware upgrades can be pushed via Wi-Fi, supporting both rapid iteration and robust maintenance.
Real-World Stories: Claude Code in Action
From Beginners to Power Users
In developer and maker communities, Claude Code is breaking accessibility barriers. For example, a software developer with no hands-on hardware experience—a quadriplegic—successfully created a bedside ESP32 display for tracking health routines with Claude Code’s guidance. They describe feeding high-level goals to the AI and simply observing as Claude wrote, flashed, and then debugged firmware (even using computer vision via a phone camera to identify and fix display bugs). The sensor array runs on a LilyGO T-Display / ESP32, handling a countdown timer, status light, and button input for health tracking—entirely personalized and usable without assistance.
Similar success stories abound in forums and open source repositories, with users reporting their first-ever fully operational projects after years of sitting on the hardware sidelines. These firsthand accounts demonstrate Claude Code’s potential to democratize physical computing, not just for tinkerers but also for those with limited mobility or non-traditional backgrounds.
Data Dashboards and Real-Time Usage: Monitoring Claude Code with ESP32
ESP32 isn’t just for sensor integration—its versatility extends to personalized dashboards, such as the Clawdmeter project on GitHub, a dedicated device that monitors and displays Claude Code usage in real time. Designed to run on a Waveshare ESP32-S3-Touch-AMOLED-2.16 but also portable to other boards, Clawdmeter connects via Bluetooth and incorporates playful features like animated splash screens (including Clawd mascots that become more “busy” as usage spikes), interactive buttons for Claude Code shortcuts, and seamless flow between display modes.
Key hardware and firmware details:
- Supports multiple board types with clean porting via a hardware abstraction layer (HAL)
- Data and UI managed by a lightweight LVGL dashboard, with OTA updates for flexibility
- Desktop simulators available for UI iteration without physical hardware
- Native Mac, Linux, and Windows software for Bluetooth pairing, daemon setup, and credential management
Users can cycle through usage views or trigger re-pairing modes with button presses. The side buttons act as HID keyboards, sending native shortcuts (e.g., Space for voice mode, Shift+Tab for toggling modes in Claude Code). Beneath the surface, Python daemons poll usage data every 60 seconds from your Claude account, updating the device over BLE, complete with status LEDs and auto-reconnection logic.
Behind the Scenes: Making and Flashing Your Own ESP32 Claude Dashboard
Setting up a dashboard like Clawdmeter or similar devices generally involves the following steps:
- Clone the project repository (see for a prime example)
- Setup PlatformIO CLI across your development machine (Linux/Windows/macOS)
- Install required libraries and dependencies, usually via included scripts or platform-specific instructions (e.g., bleak and httpx for Python BLE comms)
- Flash the firmware for your board variant using provided shell or PowerShell scripts—these help identify supported hardware environments and handle board-specific quirks
- Pair the ESP32 via Bluetooth with your desktop or server, following instructions for your OS (System Settings > Bluetooth on macOS; Settings > Bluetooth & Devices on Windows)
- Run the companion daemon/tray app to manage token access, polling, and live data updates. Status indicators show when the device is connected and receiving updates, with troubleshooting steps for common connectivity or authentication errors
Detailed instructions and troubleshooting tips are outlined in project READMEs, including environment requirements, available flash targets, and token storage specifics for each OS. Porting to a new board simply requires copying the HAL folder stub and wiring up pin definitions—no need to touch the main UI or logic code.
Data Acquisition Systems: When Claude Code Writes Your Arduino/ESP Firmware
Many real-world ESP32 integrations leverage Claude Code to automate the production of firmware for data acquisition and control systems. For example, users in the Arduino community forum recount generating ready-to-run code for systems that:
- Read analog values from voltage/current sensors (e.g., battery voltage, solar charge, mains AC monitoring)
- Control digital outputs for power switching and relay management (solar controller, inverter, charger, etc.)
- Transmit structured JSON packets over serial to a secondary ESP8266 that acts as a Wi-Fi/MQTT network adapter
- Receive incoming MQTT commands, parse them, and actuate outputs with immediate feedback and error handling
Claude Code’s AI-generated sketches come with boilerplate for:
- Efficient analog/digital pin reading (raw ADC values and conversions)
- Reliable serial comms between Arduino and ESP8266/ESP32, parsing JSON commands for robust two-way control
- Validation routines to ensure commands are formatted correctly before acting, greatly reducing the risk of runaway relays or silent failures
- Auto-reconnect to Wi-Fi/MQTT, persistent delivery of state/status topics, and system acknowledgment of every action
These features—usually the realm of experienced firmware engineers—are now accessible to anyone capable of copying a prompt into Claude Code and editing Wi-Fi credentials. Integration with ESP Claw and MQTT further extend the possibilities for home automation projects with ESP32 boards.
Extending, Troubleshooting, and Customizing Your Workflow
Whether you’re porting to new hardware, adding extra sensors, or tweaking your automation logic, Claude Code’s guidance continues to pay off when things don’t go as planned. All reviewed projects come with comprehensive documentation, pointers for custom board porting, and open-ended extension support. Issues like Bluetooth pairing errors, authentication problems with Claude service tokens, or display bugs all have clearly documented manual and automated fixes (e.g., token refresh, toggling Bluetooth hardware, and debug output in exclusive logs).
On the firmware side, modular source trees and defined hardware abstraction layers mean users can extend dashboards, port animation libraries, or swap out icons/fonts (bearing in mind potential licensing issues with proprietary assets in some official mascot art or font repositories). Community feedback and pull requests are welcomed on GitHub, lowering the bar further for real-world collaboration and code reuse.
ESP32 development with Claude Code AI is unlocking hands-on hardware creativity across the spectrum of experience and physical ability. With guides, projects, and interactive code generation, anyone can create robust home automation sensors, personalized dashboards, and custom data acquisition systems—often in less time and with fewer headaches than ever before. As long as one follows board and security best practices, the journey from idea to working prototype is smoother, quicker, and more accessible, providing fresh avenues for learning and daily-life innovation.