
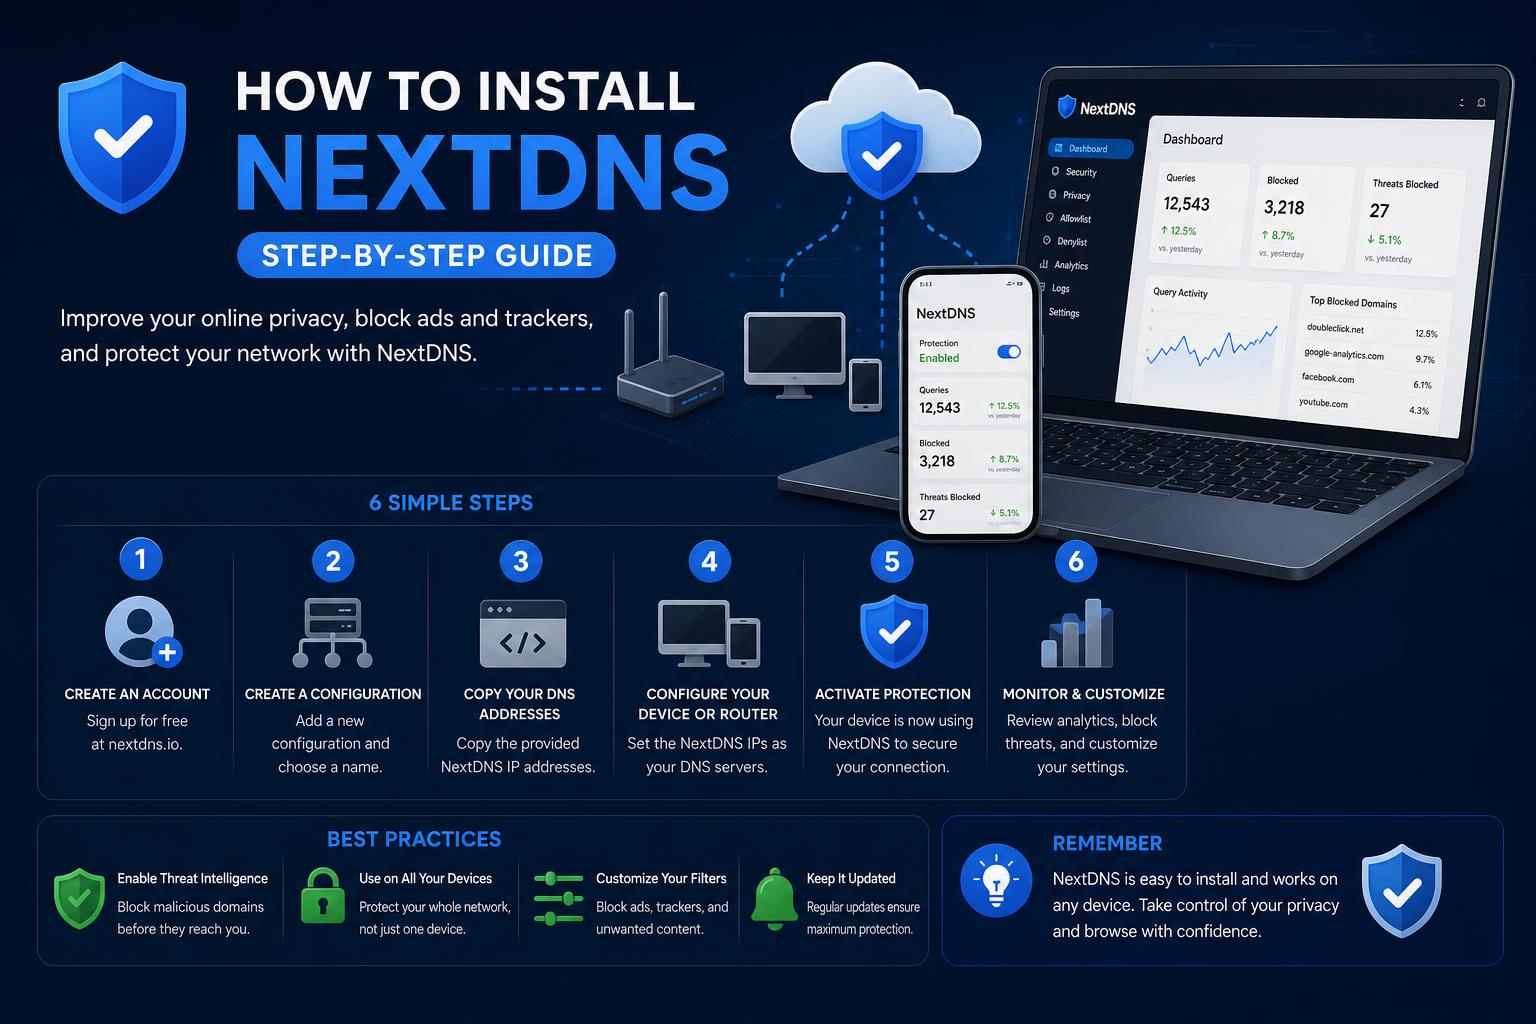
- NextDNS empowers users to safeguard privacy and block unwanted content via encrypted DNS filtering across all devices.
- Setup is flexible, supporting routers, desktops, smartphones, and can be tailored with unique Profile IDs and granular filters.
- Testing and troubleshooting tools, plus an active community and comprehensive dashboard, streamline management and customization.
If you’ve been looking to take control of your internet privacy, block unwanted content, and protect your devices at home or on the go, there’s a good chance you’ve heard of DNS filtering services. NextDNS stands out among these solutions thanks to its flexibility, ease of setup, and powerful customization options, whether you’re a privacy buff or just a tech-savvy parent trying to keep the family network safe. But how do you actually install and configure NextDNS? This article is designed to answer that question in depth—covering everything from why you might want to switch your DNS service, the range of devices you can protect, to step-by-step setup instructions and optimization tips.
The process of installing NextDNS is surprisingly accessible but does vary depending on the platform—be it a Windows or Mac computer, a smartphone (iOS or Android), or your home router. This guide draws from the best resources and real-world tips gathered from across the web, ensuring you not only get up and running with NextDNS but you also understand the ‘why’ behind every step. If you value privacy, speed, and granular control, or you simply want a reliable way to filter web content for your entire network, keep reading to unlock the full potential of NextDNS.
Why Change Your DNS Service Anyway?
Most of us connect to the internet without a second thought for how our online destinations are actually reached. Domain Name System (DNS) services translate website names into the IP addresses your devices use to communicate; by default, you’re almost always using your ISP’s DNS service. While functional, these default DNS services collect a fair amount of data about your browsing habits. This data is often used for ad targeting, tracking, and can even be leveraged to redirect your searches or restrict access to certain content. Changing your DNS provider can mitigate these privacy issues, but using an unencrypted DNS service means your queries are still visible to your ISP or anyone else snooping on your network.
Enter encrypted DNS protocols like DNS over HTTPS (DoH) or DNS over TLS (DoT), which help shield your DNS queries from prying eyes. However, not every DNS service supports these protocols, and some require more complex setup—here’s where NextDNS shines, offering powerful privacy features, content filtering, and customizable settings while supporting modern encryption standards.
The Standout Features of NextDNS
- Privacy-First Policy: NextDNS maintains a straightforward logging policy. If something isn’t essential, it doesn’t get stored. This least-log approach means your browsing data isn’t being harvested or shared.
- Powerful Content Filtering: Easily block adult content, trackers, malicious sites, or even specific apps and sites like Facebook, Fortnite, or Tinder. Built-in SafeSearch and YouTube Restricted Mode provide family-friendly browsing by default.
- Flexible Setup: Whether you use a single device, several computers, or want whole-home protection via your router, NextDNS supports it all. Their platform is particularly praised for its iOS and Android compatibility, overcoming the restrictions that typically limit DNS customization on mobile devices.
- Custom Profiles for Every Need: Assign DNS filtering rules, block or allowlist, and restrictions based on device, subnet, MAC address, or even the current network user—perfect for families and small organizations.
- Open Platform and Community Support: With a generous free tier (up to 300,000 DNS queries monthly across unlimited devices) and a strong, supportive online community, getting help or troubleshooting is easy.
Getting Started: Creating a NextDNS Account
While you can use NextDNS without signing up, creating a free account unlocks advanced customization and tracking features. After registration, you receive a unique Profile ID, which is essential for tailoring settings and managing devices. Your account dashboard displays the DNS server addresses specific to your profile and provides setup guides for nearly every platform. Keep your Profile ID handy, as it’s required in some setup methods.
Device-by-Device: How to Install and Configure NextDNS
NextDNS can be activated in a variety of ways, and the best approach depends on your devices and goals. Below, you’ll find step-by-step instructions for the most common installation scenarios.
1. Setting Up NextDNS on Your Home Router
The most comprehensive way to protect and filter all traffic in your household is by configuring NextDNS directly on your router. This means every device connected to your Wi-Fi will benefit from DNS protection automatically. However, keep in mind that some advanced device identification and per-device settings may require more granular setup.
- Access Your Router’s Admin Panel: Usually, you can do this by entering your router’s IP address (often 192.168.1.1 or 192.168.0.1) into your browser. Check the label on your router for login information.
- Find the DNS Server Settings: This is commonly located in the “Internet” or “LAN” section of the administration panel.
- Enter the NextDNS DNS Server Addresses:
- Primary DNS: 45.90.28.232
- Secondary DNS: 45.90.30.232
- Save & Restart: Be sure to save changes, then restart your router if necessary to apply new settings to all devices.
Note: Some advanced routers or mesh systems (e.g., Google Wifi, Ubiquiti’s UniFi Dream Machine Pro) may require firmware updates or have slightly different DNS settings. If needed, consult your router manufacturer or seek NextDNS’s dedicated setup guides.
How to Enable SSH on Raspberry Pi: The Complete Step-by-Step Guide
2. NextDNS on Individual Devices
Windows and macOS
Setting NextDNS system-wide on a desktop or laptop often means simply updating your DNS settings, but for maximum privacy (and to use encrypted DoH/DoT), it’s best to use the NextDNS CLI app. This also enables advanced features like device identification and per-user filtering.
- Download the CLI Client: Visit NextDNS’s official GitHub Wiki for platform-specific instructions and download links.
- Install the Client: Follow the on-screen prompts or terminal instructions. You may need administrative privileges.
- Configure with Your Profile ID: When prompted, enter your NextDNS Profile ID to link the device with your dashboard settings.
- Control and Monitor: After install, use terminal commands to start, stop, restart, or monitor the service. Typical commands include
nextdns start,nextdns stop, etc. - Update or Remove: The same install command can be used to update or uninstall the client as needed.
The CLI client supports numerous advanced options, including automatic LAN client identification, integration with various routers, cache controls, and conditional forwarding based on domain or user.
The Ultimate DIY Windows 11 Tools Guide: Mastering Customization, Performance, and Privacy
iPhone & iPad (iOS Devices)
While Apple makes DNS customization tricky on iOS, NextDNS offers a streamlined process by providing downloadable configuration profiles (“.mobileconfig”). These profiles let you set up encrypted DNS with just a few taps.
- Go to your NextDNS dashboard on a Safari browser on your device.
- Download your personalized
.mobileconfigfile linked to your Profile ID. - Install the profile; you’ll be guided through the device’s built-in configuration screens.
- For managed (supervised or company-owned) devices, use a Mobile Device Manager (MDM) or Apple Configurator to distribute the profile.
After installation, all DNS queries from your device are filtered and encrypted according to your settings. You can remove the profile at any time via Settings if needed.
Understanding GrapheneOS: The Ultimate Guide to Privacy-Centric Android
Android Devices
Android’s “Private DNS” feature (supported on Android 9 Pie and later) makes switching to NextDNS straightforward. Simply update the DNS-over-TLS setting:
- Open: Settings > Network & Internet > Advanced > Private DNS.
- Choose: “Private DNS provider hostname”.
- Enter: dns.nextdns.io (you may use a more specific URL tied to your profile if shown in your dashboard).
- Save and exit. Your DNS queries are now encrypted and filtered.
For enterprise-managed devices, these settings can also be pushed remotely via your MDM system.
Raspberry Pi or Linux Devices
For those running Pi-hole or similar solutions, NextDNS can function as the DNS backend or as a standalone DNS filter. Installation is usually handled via the CLI client:
- SSH into your Pi or Linux device.
- Run the install script from GitHub (see official NextDNS documentation).
- Follow instructions to link with your Profile ID and configure desired options.
- Set your Pi’s (or server’s) IP address as the DNS server for the rest of your network, typically via your home router settings.
This solution is popular for those seeking local performance benefits, detailed analytics, and robust, network-wide filtering capabilities.
Your Complete Guide to eMule Remote: Features, Usage, and Everything You Need
Testing Your NextDNS Setup
After configuring NextDNS on a device or network, it’s important to verify that your traffic is actually being filtered and encrypted.
- Visit https://test.nextdns.io/ from the device you set up.
- You should see a confirmation stating your device is “configured”, along with additional profile and connection details.
- If the status is not configured, revisit your DNS settings or consult the troubleshooting section in the .
Customizing Filters and Restrictions
NextDNS allows for a high degree of personalization via your online dashboard:
- Allowlist and Denylist: Instantly permit or block specific domains, sites, or apps.
- Content Categories: Choose which types of content to filter, including explicit material, social media, gambling, ad trackers, and more.
- SafeSearch and YouTube Restriction: Force Google, Bing, DuckDuckGo, and other search engines to hide explicit results; enable YouTube’s Restricted Mode for added safety.
- Blocklists and Community Filters: Leverage pre-made blocklists as well as community-curated categories, or import custom lists.
- BYPASS Controls: Restrict or log attempts to circumvent DNS protections, though highly motivated users may find workarounds.
All these features allow you to tailor your network exactly as you want it. Updates to your dashboard are typically applied in real-time across all linked devices—no need to reinstall or manually update any device unless you change Profile IDs.
Test Your Configuration and Troubleshoot Common Issues
Once you’ve set up NextDNS, it’s crucial to verify its proper functioning. Visit to confirm your device’s configuration and encryption status. If problems arise, double-check your DNS settings, ensure you’ve entered the correct Profile ID, and consult the troubleshooting resources in the . Common issues include DNS leaks, incorrect configuration, or network interference which can be addressed with various troubleshooting steps.
How to Set Up and Use a VPN on Android: The Complete Guide