
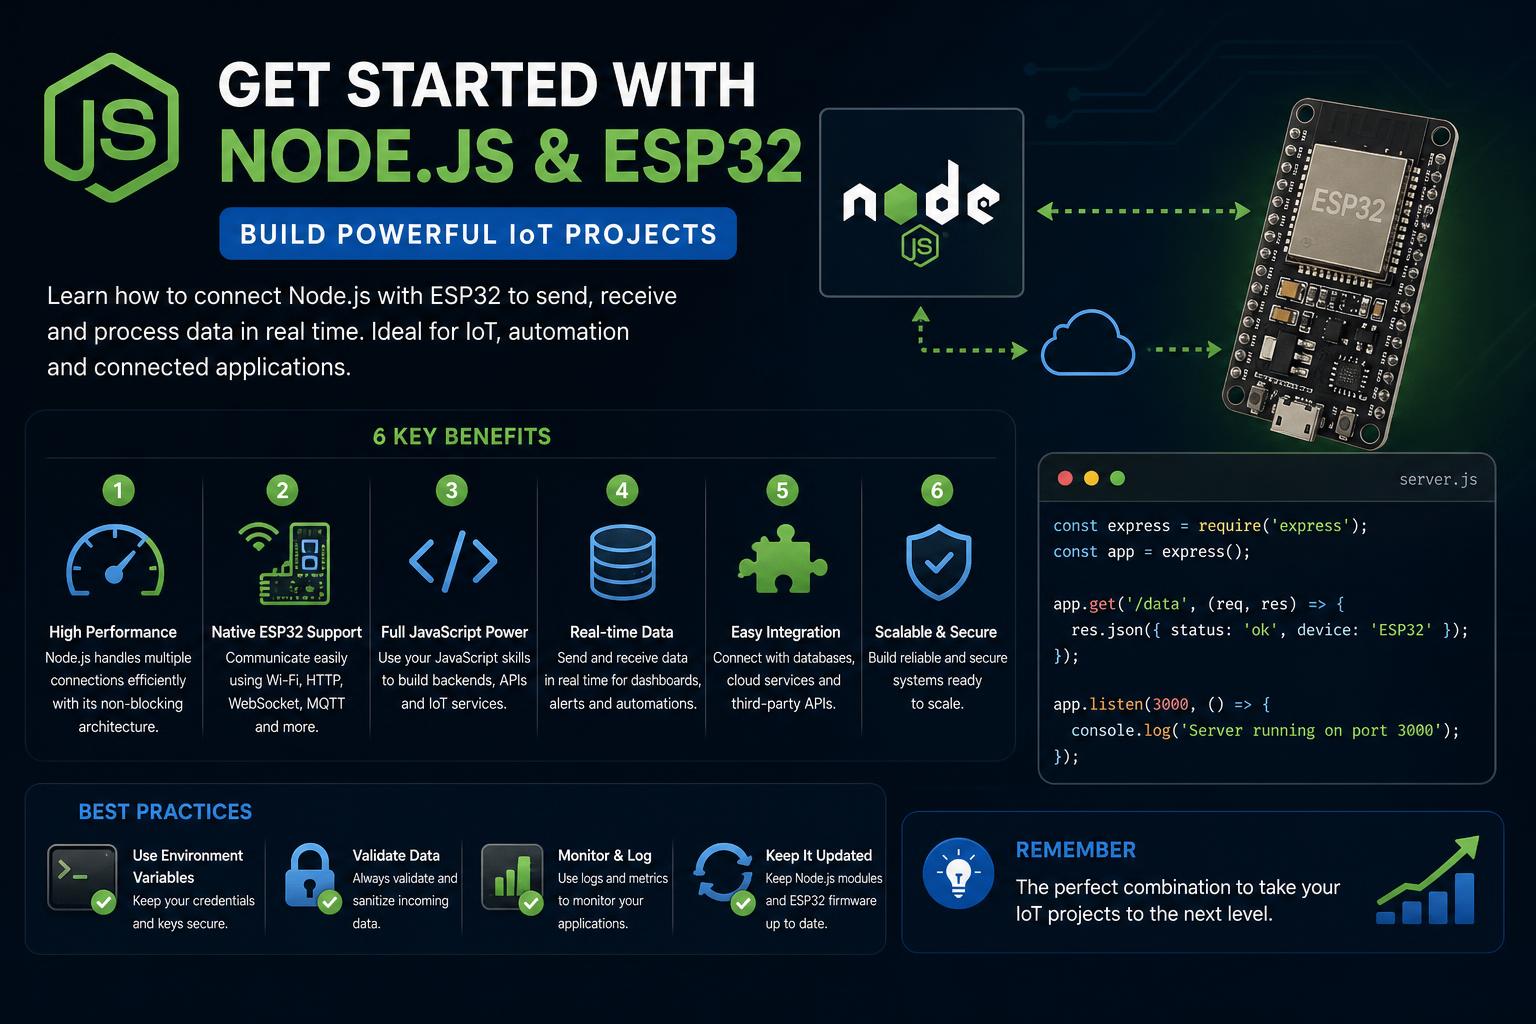
- JavaScript can run directly on ESP32 using Espruino or low.js for rapid prototyping.
- Connecting ESP32 to Node.js servers is achievable through HTTP/2, WebSocket (Socket.IO), or MQTT.
- Each approach comes with clear benefits and key limitations for performance, compatibility, and scalability.
The intersection of Node.js development and ESP32 microcontroller projects is growing rapidly as makers and web developers look for ways to bridge their favorite technologies across the worlds of web and hardware. If you’re coming from a JavaScript background and want to experiment with hardware control, or you need your ESP32 board to communicate seamlessly with a Node.js backend, you’re in the right place. In this article, we’ll explore in depth the options, challenges, and solutions for integrating Node.js and ESP32, breaking down real-world community projects, official documentation, and hands-on technical guides.
From running event-driven JavaScript directly on the ESP32 itself (thanks to projects like Espruino and low.js), to setting up robust communication channels with Node.js servers (covering everything from HTTP/2 to Socket.IO and MQTT), this guide covers proven approaches and developer pitfalls. Expect technical specificity but also real talk about which methods work for different levels of performance, flexibility, and rapid prototyping. By the end, you’ll have a 360° vision over JavaScript and ESP32—going well beyond quick tutorials—with clear guidance on how to choose and implement the tech stack that’s right for you.
Running JavaScript on the ESP32: Options and Realities
The ESP32 is a powerhouse microcontroller thanks to its Wi-Fi and Bluetooth capabilities, making it perfect for IoT projects. Traditionally, developers have coded ESP32 projects in C++ (with the Arduino framework) or in MicroPython. However, if you want a more familiar syntax and event-driven paradigm similar to web development in JavaScript, you have several exciting options:
- Espruino: A runtime for JavaScript that runs directly on the ESP32. This lets you work with GPIO, sensors, and other peripherals using JavaScript without any operating system in between. Espruino Website
- low.js: A compact port of Node.js for microcontrollers (targeting especially boards with the ESP32-WROVER module). This is not full Node.js, but mimics its API for lightweight embedded use cases. low.js Home
- Connecting ESP32 (classic C++/Arduino code) with a separate Node.js server via protocols like HTTP, MQTT, or WebSockets.
Espruino: Coding the ESP32 with JavaScript the Easy Way
Espruino brings the familiar event-driven JavaScript model to microcontrollers with minimal overhead. Instead of needing to compile C/C++ code and upload each time, Espruino lets you write and test code interactively via a web-based IDE—making it ideal for rapid prototyping and for newcomers to the embedded space who already know JavaScript.
Key features of Espruino:
- Event-driven programming—think
setInterval()instead ofloop(). - Live debugging and interactive REPL (Read-Eval-Print Loop) through the Espruino Web IDE.
- Runs directly on the ESP32; no extra OS required.
- Great for connecting with APIs, controlling sensors, and even managing Wi-Fi from a JavaScript syntax.
How do you get started?
- Flash the latest Espruino firmware onto your ESP32. This is best done using the Espruino Online Flasher or
esptool.py. Make sure your USB cable supports data transfer, not just charging! - Open the Espruino Web IDE (using Chrome or any browser with Web Serial API support). Connect to your ESP32’s serial port.
- After flashing, you can immediately write JavaScript in your browser, test LEDs, sensors, and more—no compile/upload cycle needed.
Sample Espruino code to blink an LED:
D2.write(true);
setTimeout(() => D2.write(false), 1000);
This style is much closer to browser or Node.js JavaScript and helps web developers build IoT solutions rapidly.
Advantages and Limitations:
- Super fast iteration and ideal for prototyping. If you’re an educator or running workshops, this reduces friction for students new to embedded.
- Avoids the classic Arduino compile/upload wait. Instead, just type and run!
- Downsides: Performance is lower than compiled C++. Espruino’s engine is interpreted, so it’s not the best for CPU-heavy or timing-critical operations. Some advanced ESP32 features (like Bluetooth or low-level hardware access) are limited, and compatibility with popular Arduino libraries is missing.
Despite these trade-offs, for many IoT and learning scenarios, Espruino is a seriously fun entry point for JavaScript lovers.
low.js: Bringing Node.js-style APIs to Microcontrollers
low.js is another project that strives to bridge the Node.js and embedded worlds. Instead of running full Node.js (which is too heavy for most microcontrollers), low.js offers a lightweight runtime compatible with the Node.js API on ESP32 boards, especially the ESP32-WROVER with expanded memory. You get much of the non-blocking I/O and familiar JavaScript tools, but within the memory and performance constraints of a microcontroller.
Key highlights from low.js on GitHub:
- Open source and free for most uses (except the ESP32-specific parts, which are freely usable via their flashing tool).
- Community-maintained and has been demonstrated with chat webserver examples that run almost identically in Node.js and low.js.
- Allows familiar Node.js-style projects to be ported to much smaller, lower-power boards, enabling web servers, MQTT clients, and more directly on the ESP32.
Important caveats: low.js is not a full Node.js drop-in replacement—its API coverage is good but not 100%, so check compatibility if you rely on specific modules.
Mastering Claude Code Skills for ESP32: Complete Guide to AI-Powered Embedded Development
ESP32 as a Client: Communicating with Node.js Servers
Perhaps the most common scenario is coding your ESP32 in C++ (Arduino-style), and letting it talk to a Node.js server to send data, control devices remotely, or interact with web apps and dashboards. Here are several proven ways to set up communication between ESP32 and Node.js:
HTTP/2 Communication: Fast and Modern
For high-performance and robust messaging, HTTP/2 is the latest generation of the web protocol—offering faster connection setup and improved multiplexing compared to HTTP/1.1. There’s a standout community tutorial on making an HTTP/2 connection from ESP32 to a Node.js server, based on the DFRobot guide. También puedes aprender más sobre los microcontroladores y comunicación en entornos embebidos.
Key steps for this setup:
- Set up your Node.js server with an HTTP/2 endpoint. You’ll need a private key and certificate. The Node.js code will use
http2andfsmodules for server creation and TLS management. - The ESP32 connects over Wi-Fi using the Arduino core, then leverages the sh2lib library for HTTP/2 support.
- On ESP32, you’ll establish a Wi-Fi connection and create a FreeRTOS task to handle HTTP/2 communication. The task manages the connection lifecycle, sends a
GETrequest to the Node.js server, and processes the response using a callback.
Example Node.js server code (using HTTP/2 + TLS):
const http2 = require('http2');
const fs = require('fs');
function onRequest (req, resp) {
  resp.end('Hello World from Node.js');
}
const server = http2.createSecureServer({
  key: fs.readFileSync('localhost-privkey.pem'),
  cert: fs.readFileSync('localhost-cert.pem')
}, onRequest);
server.listen(8443);
ESP32-side (using sh2lib and WiFi.h):
- Establish Wi-Fi connection using your network credentials.
- Use
sh2lib_connectto reach the Node.js server’s IP and port 8443. - Send a HTTP/2 get request, such as
/test, and handle the response data in your callback.
This model allows efficient, modern communication for real applications where you want lightning-fast exchange between hardware and a web backend. Just make sure both client and server are on the same network or have appropriate networking/routing configured.
Using WebSockets (Socket.IO): Realtime, Bidirectional Communication
For many IoT and automation scenarios, WebSockets offer seamless two-way connection between your ESP32 and the backend server. Socket.IO is a popular choice on the Node.js side for managing real-time messaging, auto-reconnects, and cross-browser compatibility.
Challenges using Socket.IO with ESP32 include:
- Matching the server and client library versions for protocol compatibility.
- Proper CORS and authentication handling on the server.
- Handling connectivity dropouts gracefully in your code.
Typical code for ESP32 client (using SocketIOclient.h library):
#include
SocketIOclient webSocket;
// WiFi credentials
const char* ssid = "yourSSID";
const char* password = "yourPassword";
// Server details
const char* serverIP = "192.168.8.14";
const int port = 3000;
void setup() {
  Serial.begin(9600);
  WiFi.begin(ssid, password);
  // Wait for WiFi connection
  // Connect to server and handle events
}
void webSocketEvent(socketIOmessageType_t type, uint8_t* payload, size_t length) {
  // Handle CONNECT, DISCONNECT, EVENT, ACK etc.
}
Node.js server with Socket.IO:
const { createServer } = require('http');
const { Server } = require('socket.io');
const httpServer = createServer();
const socket = new Server(httpServer, {
  cors: {
    origin: '*',
    credentials: true
  }
});
socket.on('connection', (sock) => {
  console.log("new client connected");
  sock.on('message', (data) => {
    console.log(data);
  });
});
httpServer.listen(3000);
Pro tips: If you see connect/disconnect loops, verify the Socket.IO version compatibility and ensure proper namespace and protocol handling in your code.
MQTT: Lightweight Messaging for IoT
Another classic approach for ESP32-to-Node.js integration is using an MQTT broker. Although not detailed here as a full tutorial, this method is robust, scalable, and suitable for distributed sensor networks. You’d run an MQTT broker (like Mosquitto) and link both your ESP32 client and Node.js backend as publisher/subscriber clients.
Advantages of MQTT:
- Low bandwidth and reliable message delivery with QoS.
- Easily integrates with cloud services and dashboards.
- Ideal for sensor data, remote control, and low-power devices.
Real-World Projects and Example Implementations
Seeking practical inspiration? Community projects on GitHub and forums demonstrate how developers connect Node.js backends with ESP32 boards:
- Sensor data transmission to a Node.js server and visualization on web dashboards using socket.io or REST APIs, like the project by shevach007 that combines hardware wiring, server code, and frontend.
- WebSocket-based real-time updates for temperature, humidity, or relay controls that send JSON data from ESP32 to Node.js, which then broadcasts to browsers or mobile apps.
- Running simple web servers or chatbots directly on the ESP32 via low.js, though hardware constraints limit complexity.
Choosing the Right Approach for Your Project
The decision between running JavaScript natively on the ESP32 (via Espruino or low.js) or using Node.js as a backend (with C++/MicroPython/Arduino on the ESP32) depends on:
- Your skill set: JavaScript developers will find Espruino approachable for direct embedded coding, while hardware-focused engineers might prefer C++ with HTTP, MQTT, or WebSocket interfaces.
- Performance requirements: For ultra-low latency or hardware-specific features, C++ via Arduino or ESP-IDF is optimal. For rapid prototyping or educational demos, JavaScript options are more convenient, though with some performance trade-offs.
- Library availability: Espruino and low.js lack many Arduino C++ libraries. If your project relies on proprietary hardware modules, sticking to the Arduino or ESP-IDF framework is advisable.
Typical Problems and Effective Troubleshooting
During development, common issues include:
- Serial connection problems: When flashing firmware fails or the device isn’t detected, ensure correct USB-to-serial drivers are installed and use a data-capable USB cable.
- Firmware flashing or bootloader access: Sometimes, pressing the BOOT button while connecting is necessary; remember to reset post-flash.
- Baudrate mismatches: Confirm serial terminal settings match the ESP32’s default baudrate, usually 115200.
- Networking errors: Repeated disconnects in WebSocket or HTTP/2 communications often relate to version incompatibilities or firewall restrictions; verify configurations and network routing.
- Memory issues: JavaScript environments on ESP32 are constrained by RAM; optimize code by reducing global object usage and avoiding circular references to prevent heap overflows.
When JavaScript on the ESP32 Really Shines
JavaScript is particularly valuable for rapid prototyping, education, and integration with web-based dashboards. It simplifies connecting ESP32 hardware with cloud APIs, MQTT, and real-time data visualization, especially when a single language across entire stacks is preferred. Si quieres profundizar en las posibilidades del Node.js en proyectos de microcontroladores, revisa también la sección sobre ¿Qué es ESP Claw?.
- Web-based IoT dashboards: Simplify integration with live sensor data and controls.
- Unified development environment: Using JavaScript for hardware, backend, y frontend reduces context switching, making debugging and maintenance easier.
- Educational and hackathon-friendly: Espruino enables quick iteration with minimal setup, live debugging, and web IDEs, making hardware accessible to newcomers.
However, for applications demanding high performance, complex hardware features, or deep protocol implementations, C++ with Arduino or ESP-IDF remains more mature and capable. Libraries and support in MicroPython are also more developed for certain advanced functionalities, so weigh your long-term needs accordingly.
Simplifying the integration of Node.js with ESP32 can vary from running live JavaScript directly on the device—thanks to Espruino or low.js—to building scalable bridges via HTTP/2 or WebSocket connections. Your choice depends on your skill level, project requirements, and preferences for development speed versus raw performance. If estás interesado en la programación avanzada del ESP32, quizás te interese consultar el recurso sobre habilidades de código para ESP32.
Recuerda que entender las capacidades y limitaciones de tu hardware es esencial para un desarrollo efectivo y eficiente en Node.js y ESP32.